The Orion Coffee Table - Part 2
So as I mentioned in Part 1, this live edge coffee table was going to be black. But I had the growing sense that although black was a pretty great colour, if it was TOO black, the end result would be pretty monotone and boring.
I needed something to elevate the piece. Something to give it some panache. A subtle way of saying, “yes, I’m an all black piece of live edge furniture, but there’s a little more than meets the eye.”
I immediately thought of brass inlays. I’ve done this before on a charcuterie board I produced a few months ago, and felt this might be a good opportunity to bring that feature back. Besides, what looks better against a black backdrop than shimmering gold?
What to do….
My first idea was to do a couple subtle brass dots. Nah…not enough. Too easy, and still too much black.
Maybe a geometric pattern, such as a circle or grid? This is honestly where I was leaning.
Then, as I was out for a walk one night with my dog, I looked up at the night sky and thought…”well there’s something.” What if I created a sky effect on the black table top?
i quickly realized that this would require dozens, if not hundreds of brass inlays. And although it might be pretty interesting, I felt like that much brass could very well end up looking like…well….shit.
But what if I did only part of the night sky? What if I did a constellation?
Yes
That was it. It was enough brass to make it pop, but not too much to overwhelm the piece. And it was random, it was a pre-established well-known pattern what would connect with the ordinary person.
And since Orion was the only constellation I could spot in the sky (actually, Orion’s Belt was the only part I could spot) I figured this was a good direction to go.
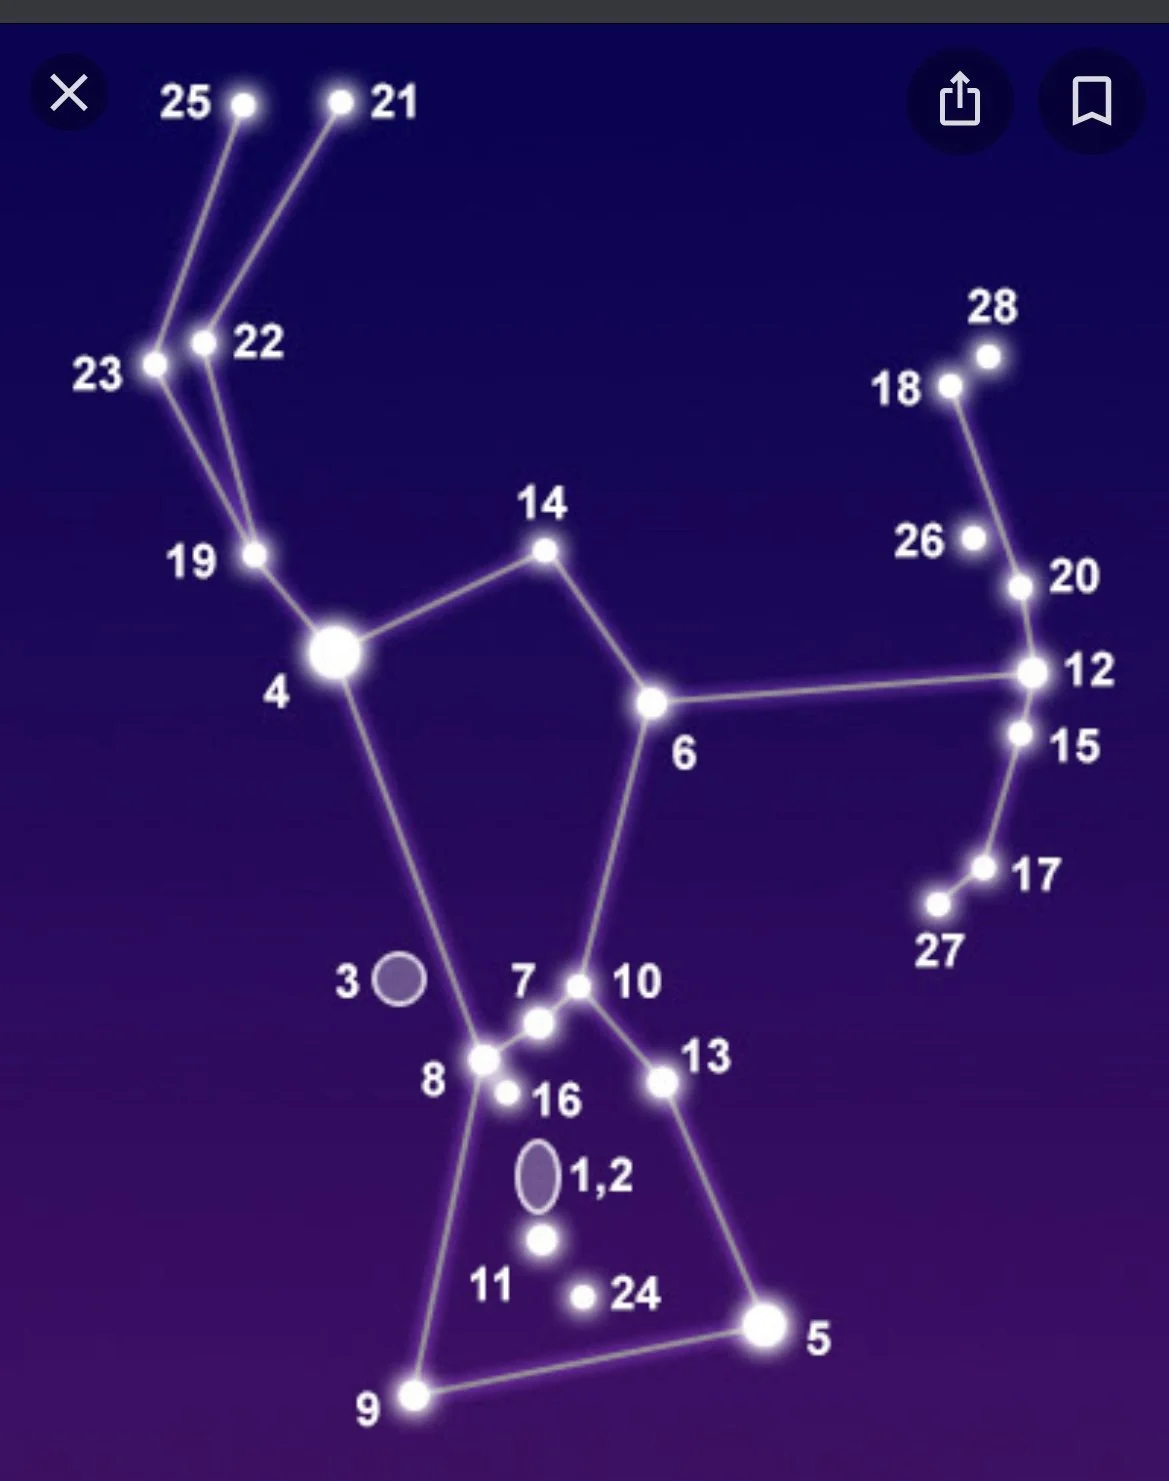
Turns out, the composition of the Orion constellation depends what what source you refer to. But I landed on a picture that included 24 stars…but I opted to omit 3 of them for clarity/design purposes.
Transposing the constellation
At first I had no idea how I would transpose the Orion constellation onto my coffee table slab. I tried to find some large posters with the constellation printed on it, hoping to get something I could lay down on the table top and mark out—-but that was a bust.
So I decided to create a scaled up model from the picture.
I knew my table was 44 inches long, so I created a scale based on the length of the constellation picture I found. The difference between the top star and bottom star was 8.3cm, which meant that the scale between 44 inches and 8.3 cm was 13.46 (44 x 2.54 / 8.3).
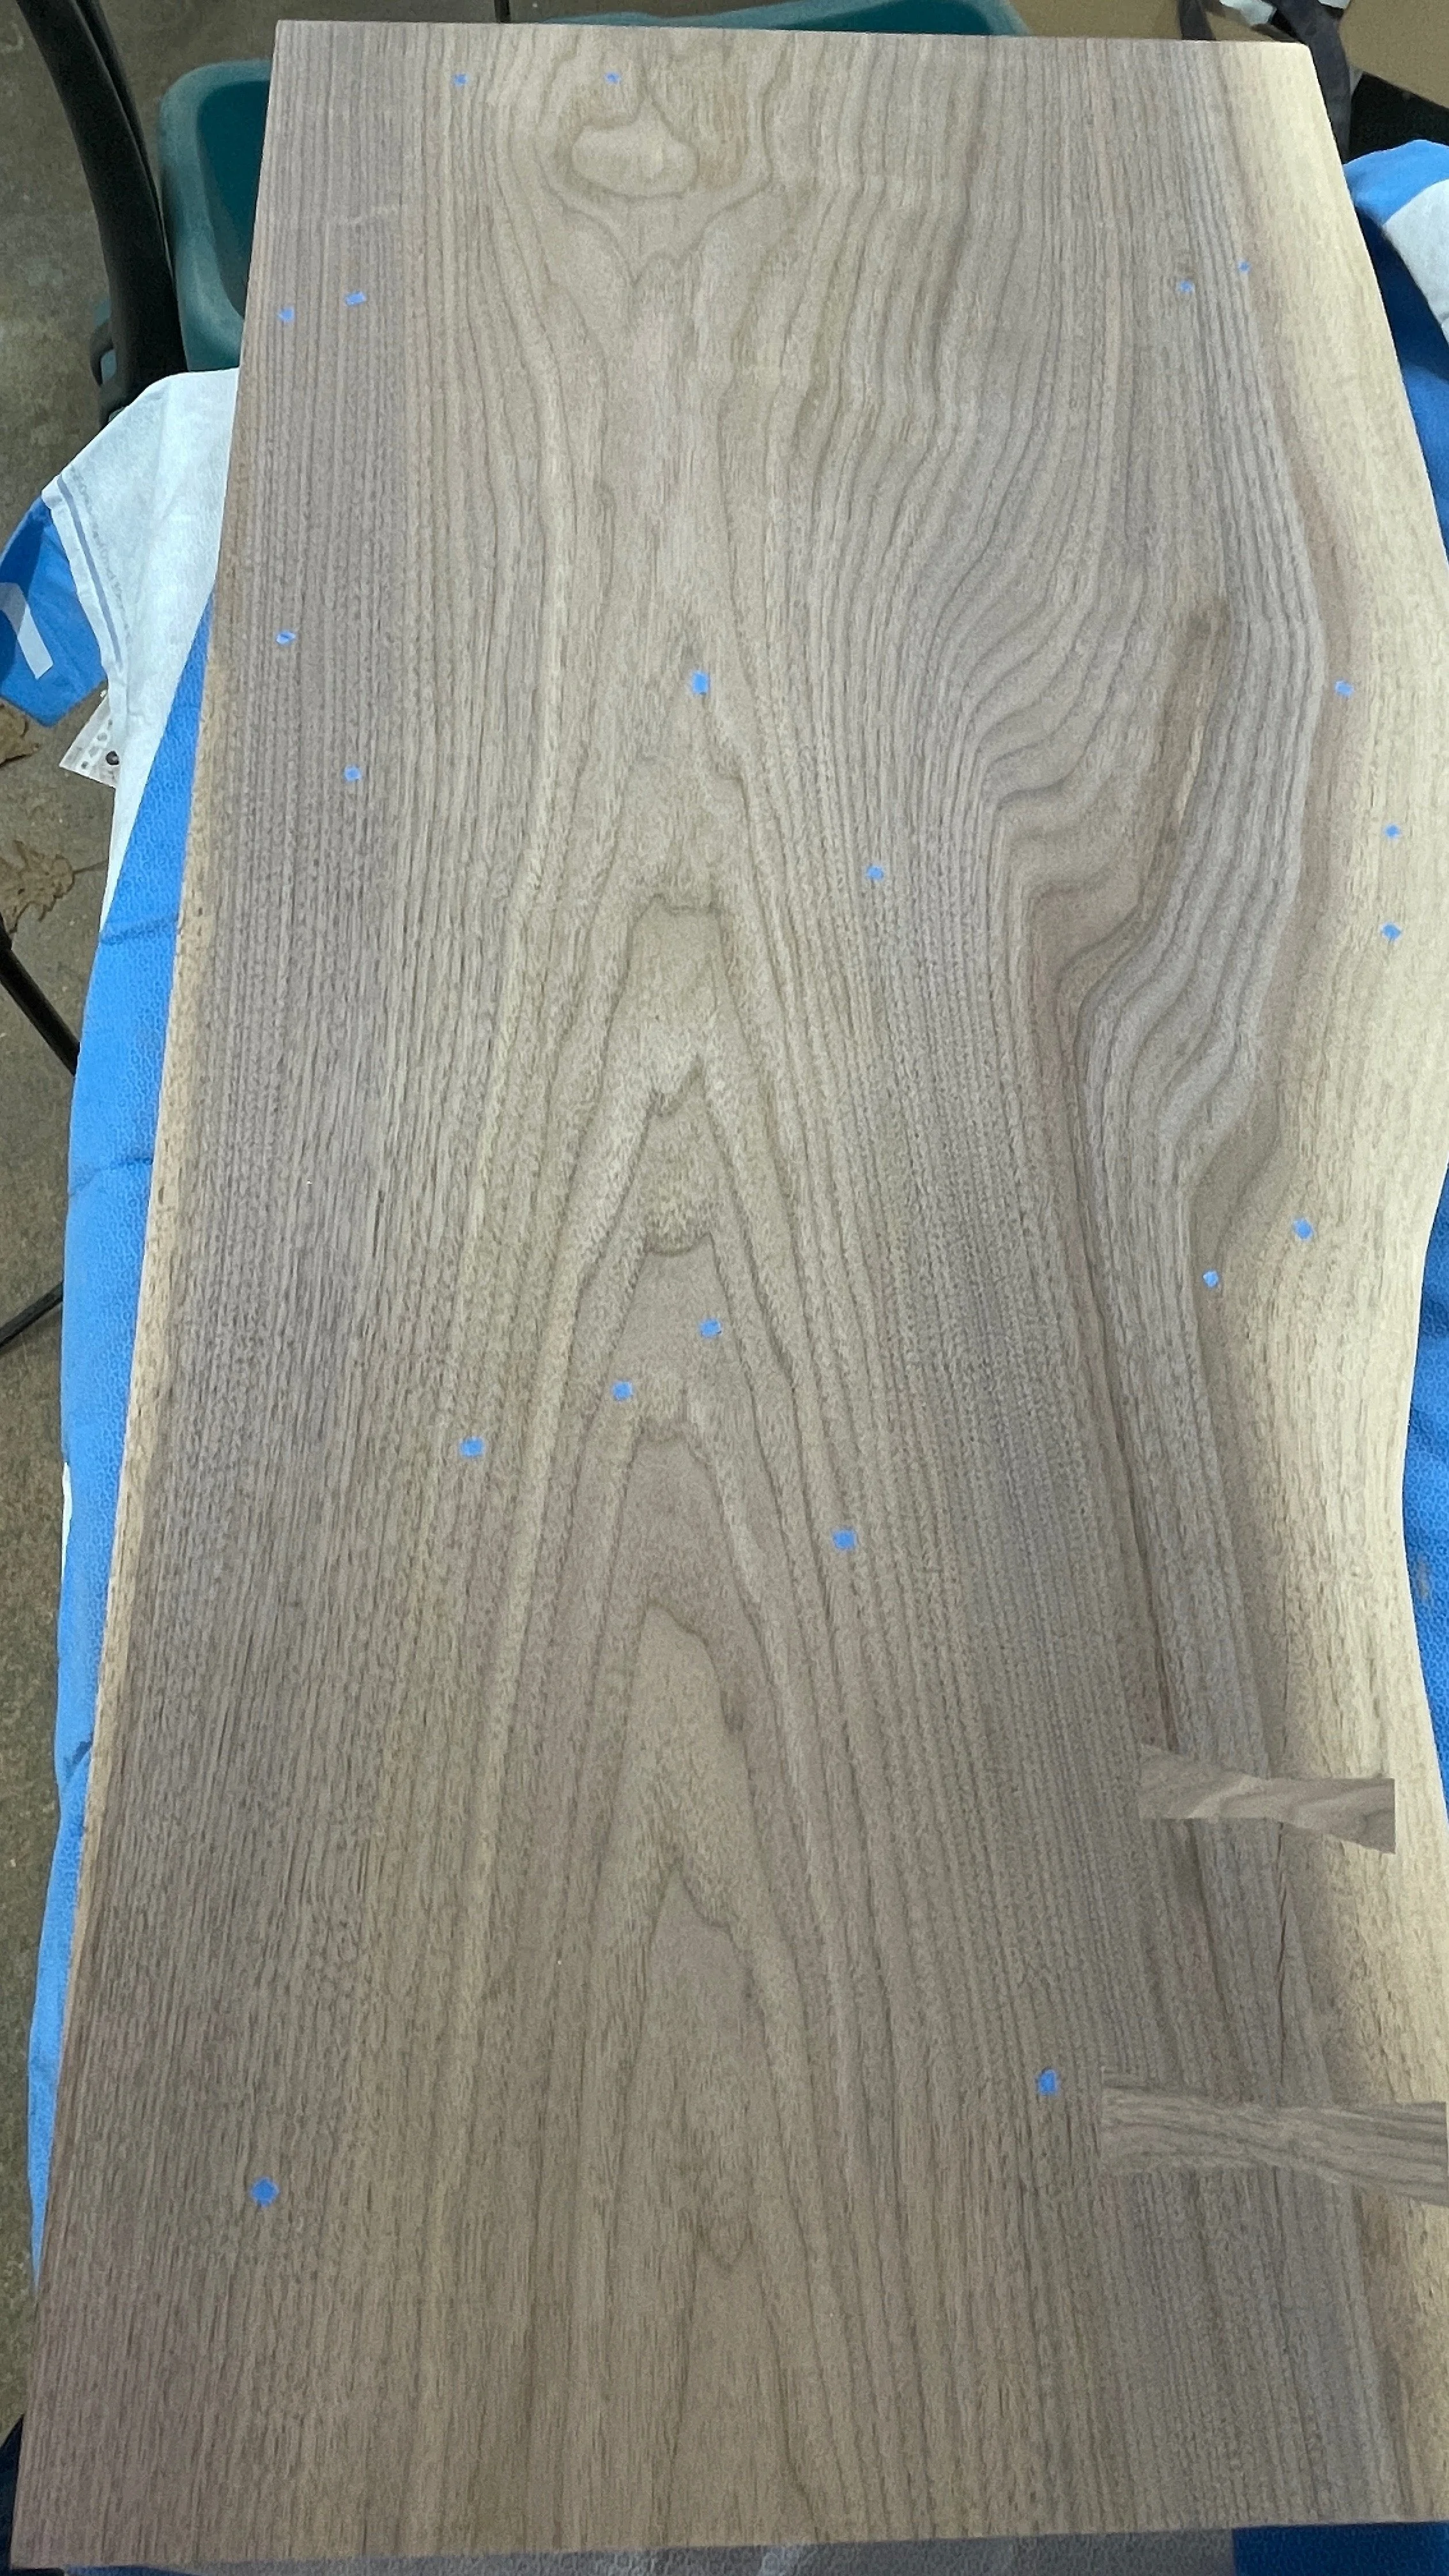
So whatever distance measured between stars on the picture, I just had to multiply it by 13.46, and that would be the distance between brass inlays on the table….should all fit in the space provided.
A bit hard to see, but each inlay was marked with a piece of blue painter’s tape.
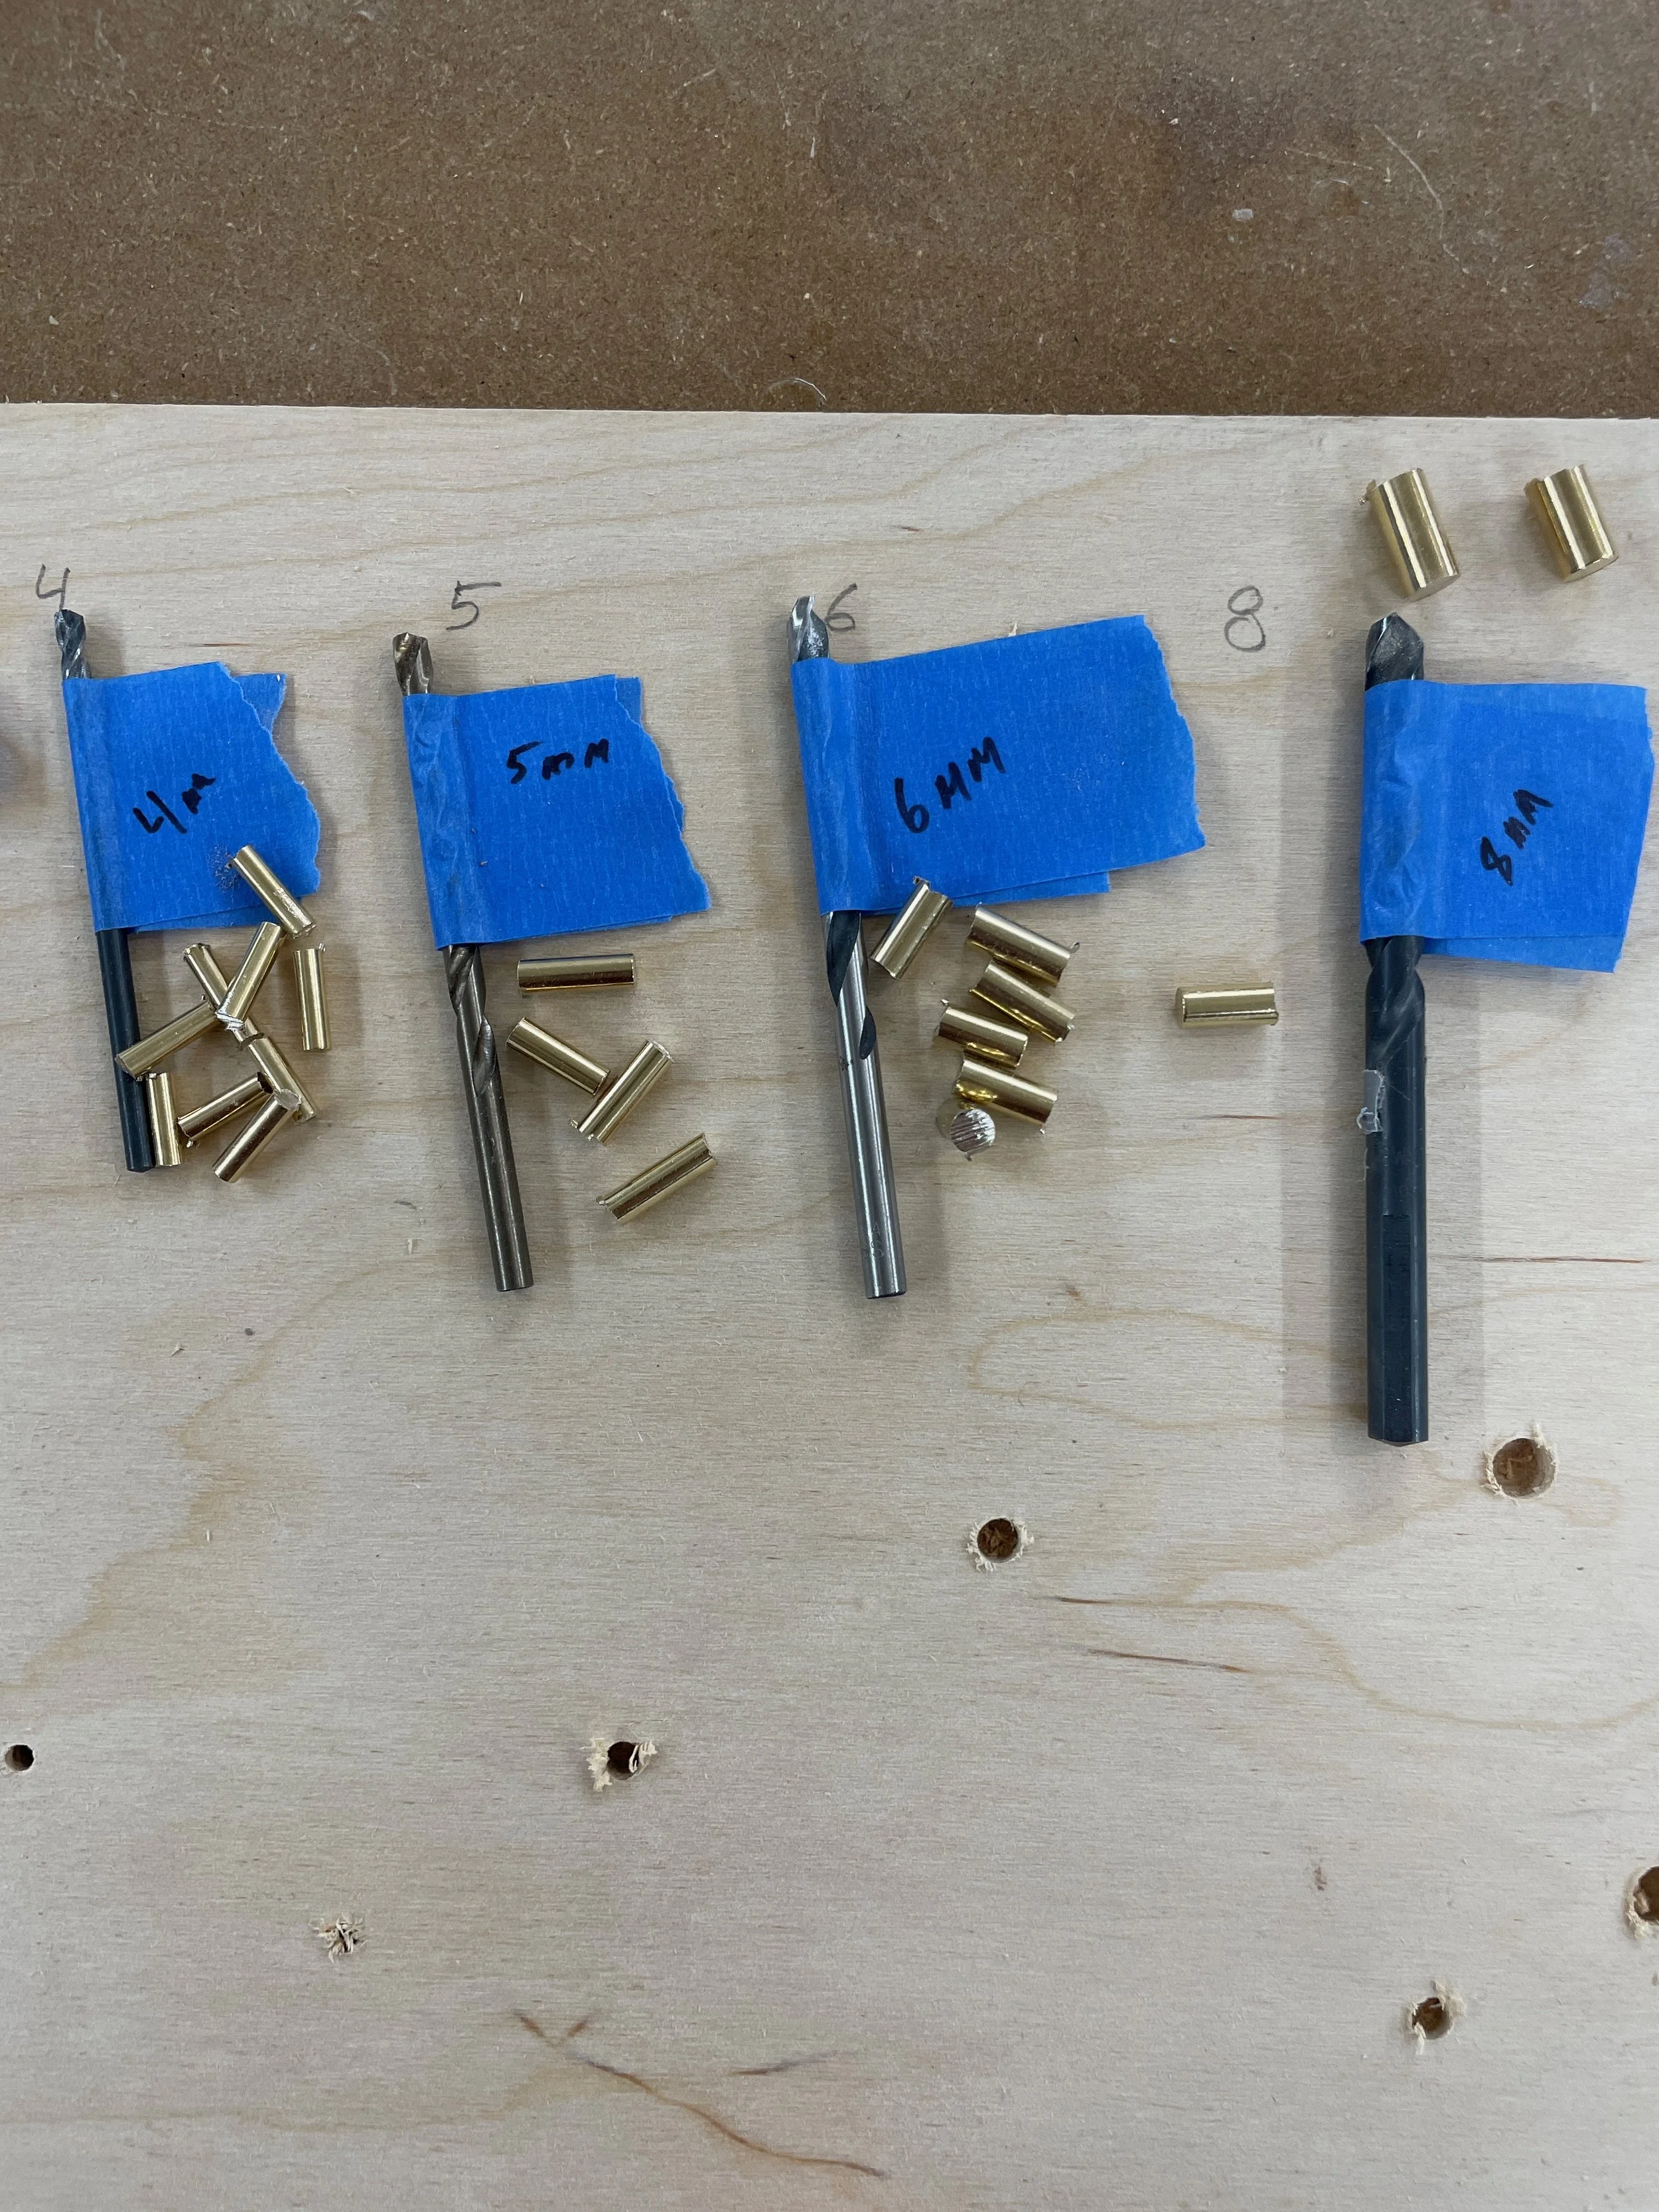
The next step was to actually insert the brass, which I did by drilling a small hole to match a few different diameter rods I had laying around.
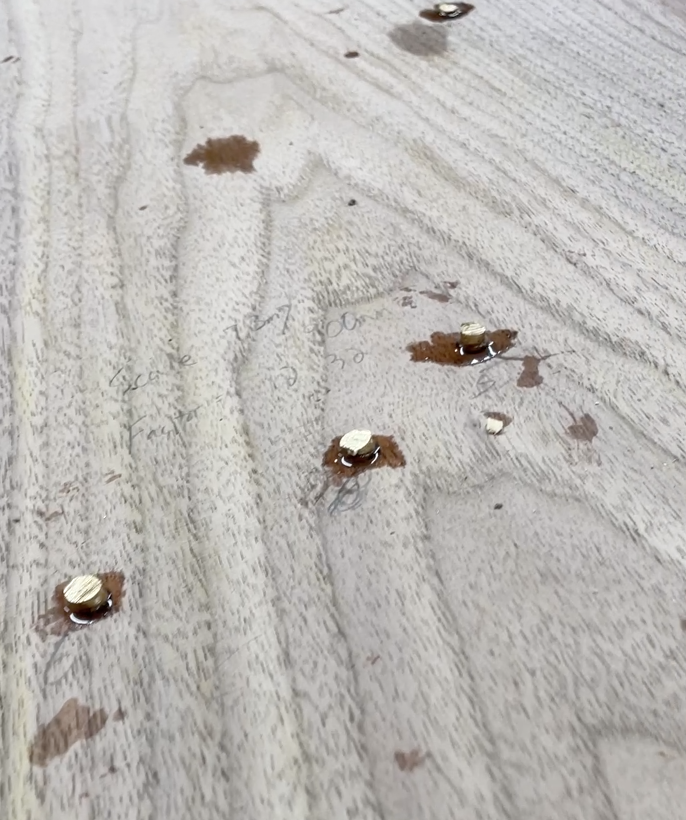
Then I just drilled, filled and secured with a little CA glue, and filed down flush. Easy.
In part 3, I’ll go over the process for getting this thing black, as well as selecting a suitable pair of legs.


