The Orion Coffee Table - Part 1
I hate stain, and I hate paint. I love the natural colour and detail that wood has to offer. Messing with it just seems wrong…not to mention the fact that applying liquid colouring is just a hassle that’s bound to wind up with problems.
However…
The only exception I’ll make to this is black. I love black. I kind of think if you’re going to stain something…go all the way. Go bold.
For a while now, I’ve wanted to do an all-black live edge table. I wanted something you don’t quite see too often. Something dark. Something slightly aggressive. Definitely something your girlfriend wouldn’t save on her Pinterest board.
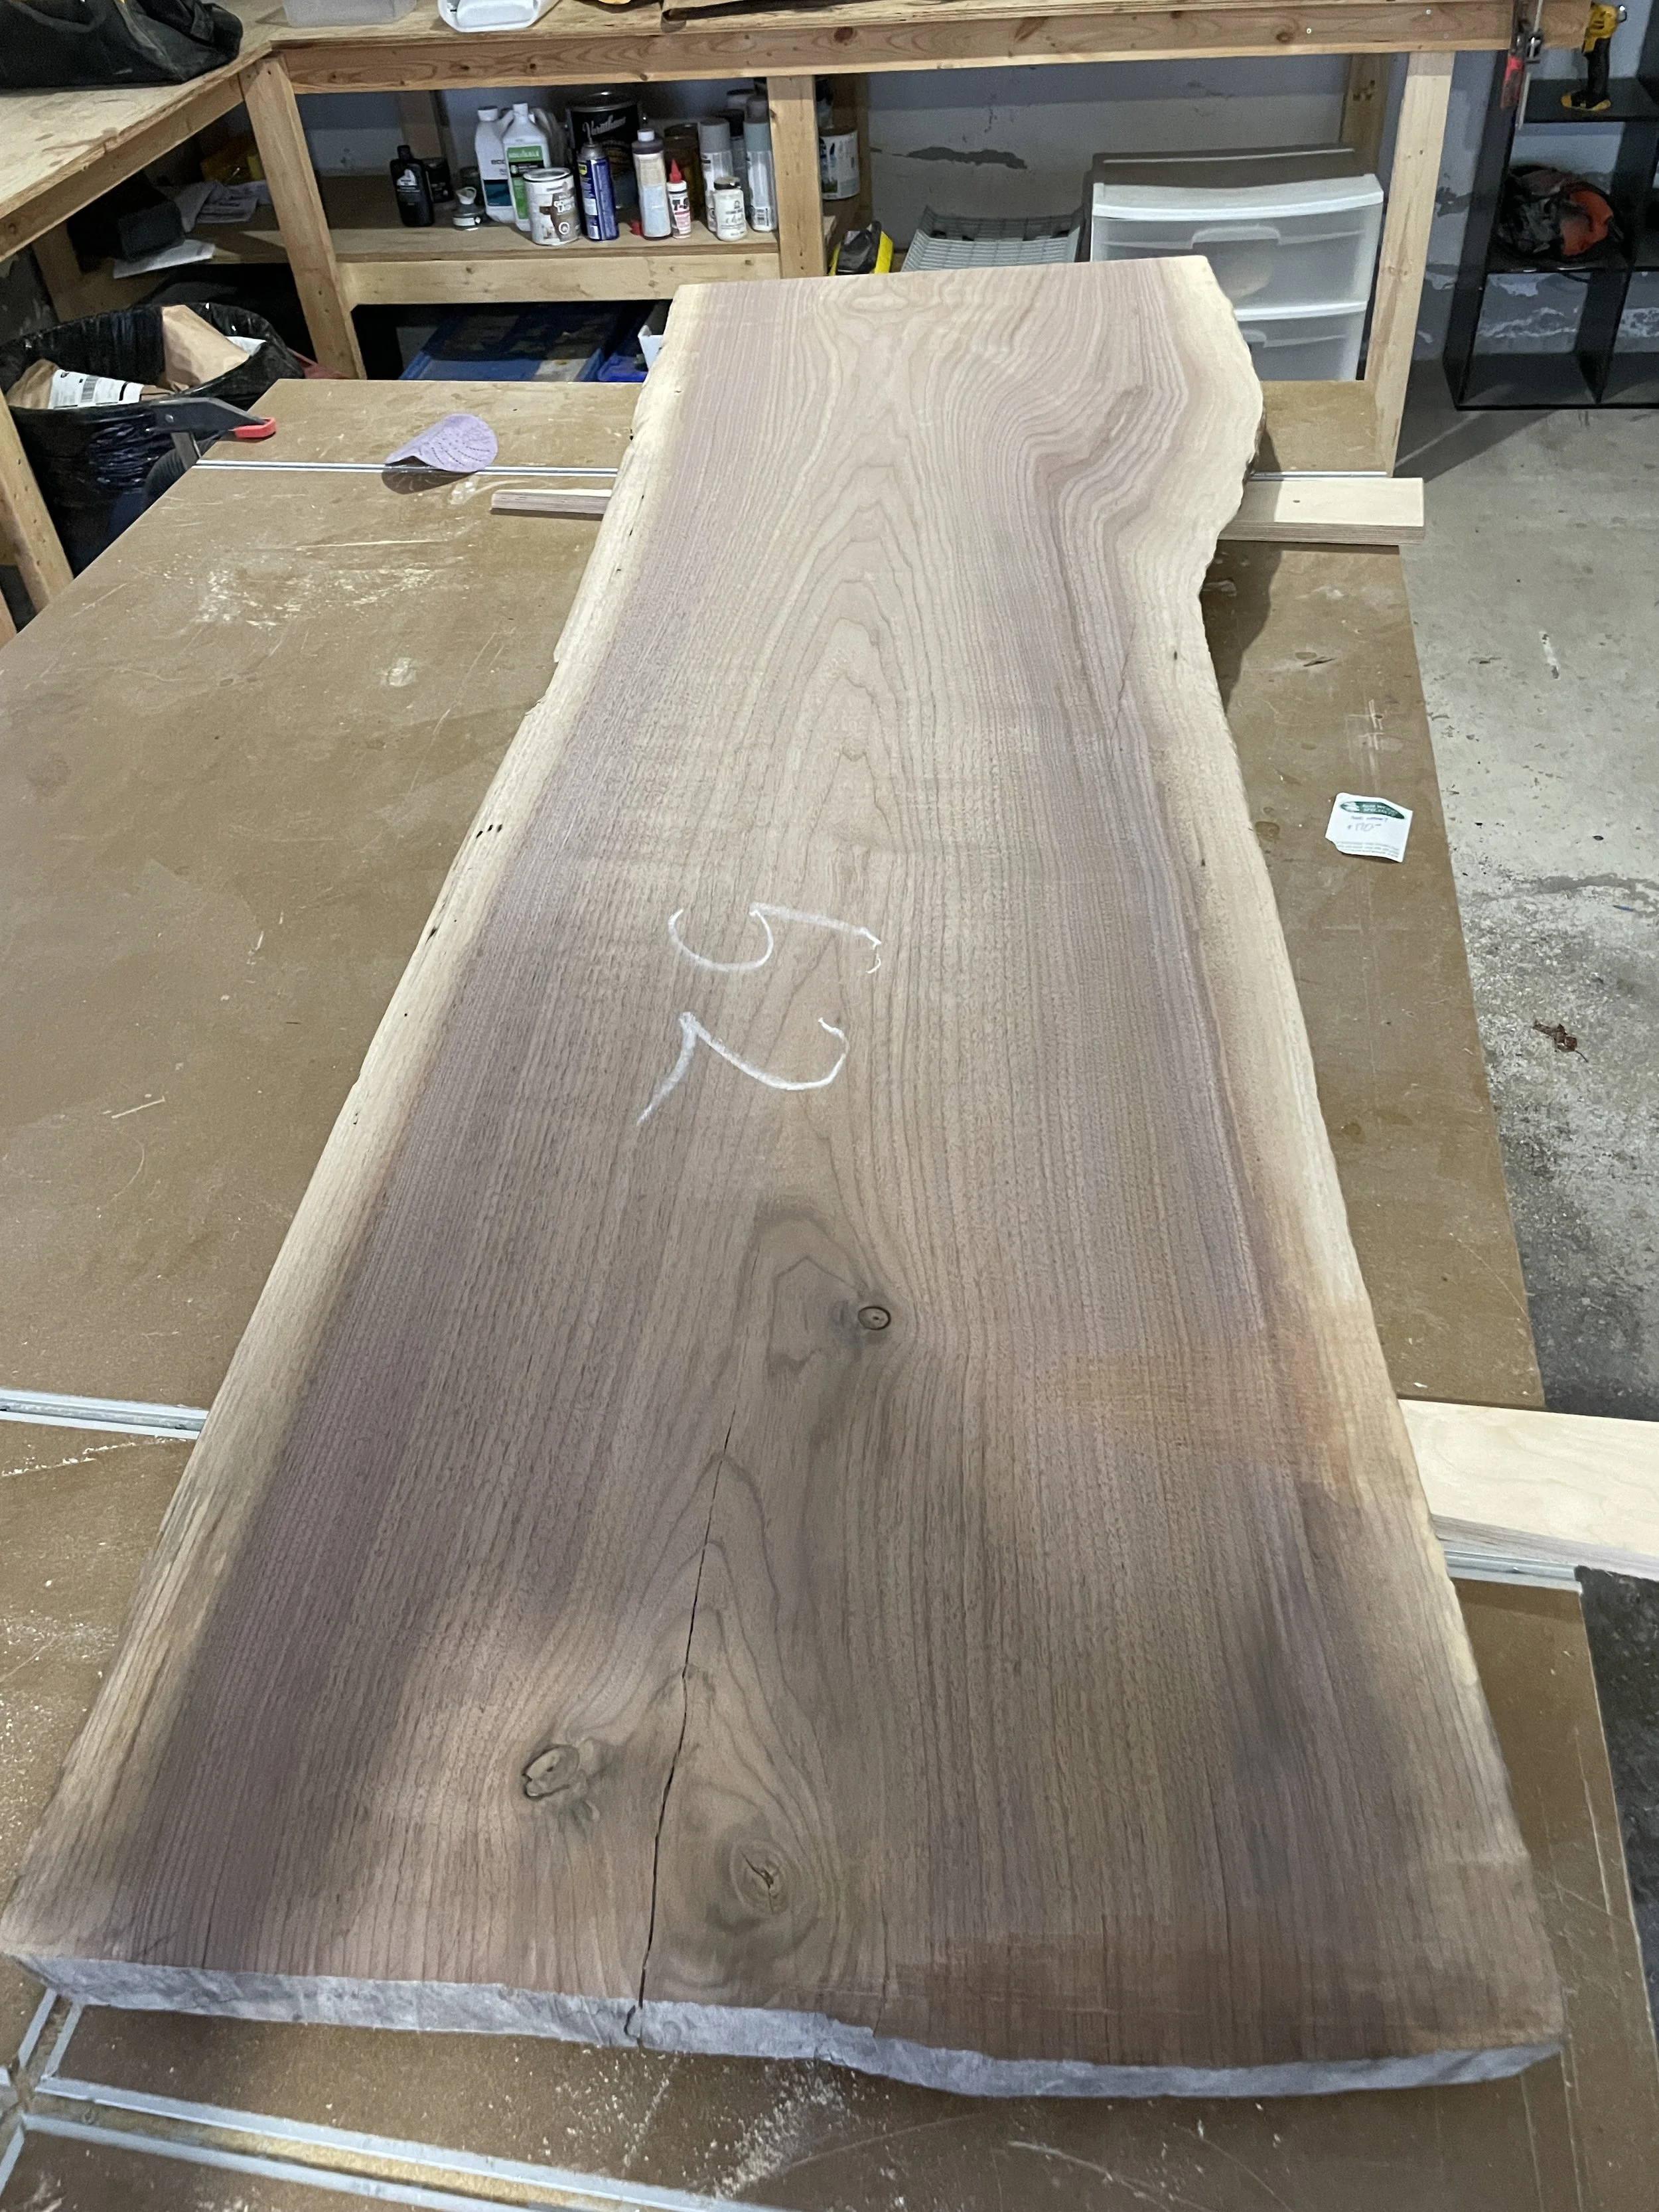
So I found this black walnut live edge slab at my local lumber dealer here in Cambridge for a great price and picked it up for two reasons. First it was very flat and very clean—only a couple cracks and checks to deal with. And second…it wasn’t extremely pretty wood. It was nice, don’t get me wrong. But I knew I’d have to stain the crap out of this thing, and I would have hated to do it to a highly figured piece of walnut.
Table Design
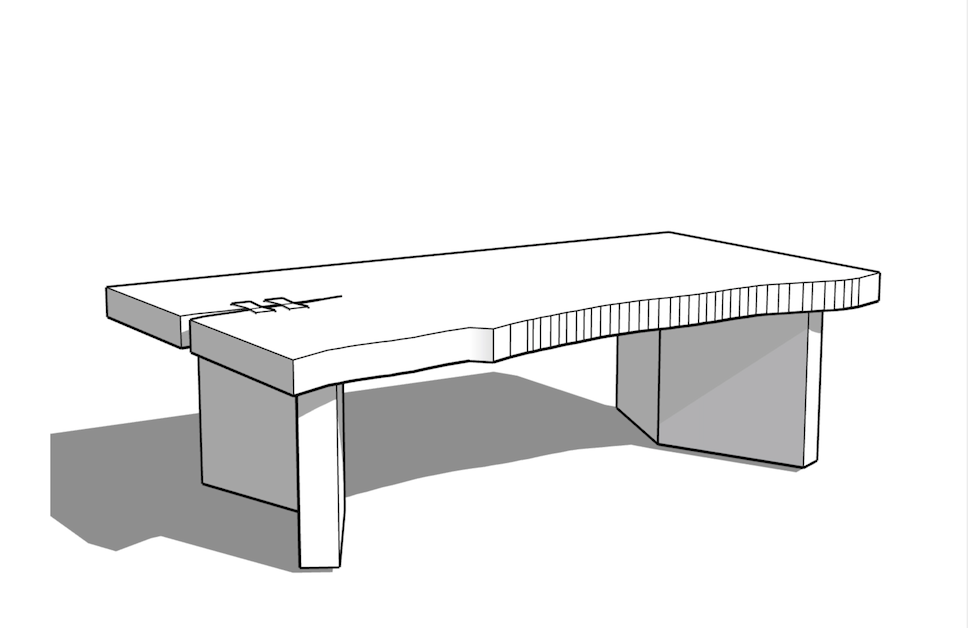
Now on to the actual design of this coffee table. My original idea was to create the entire table from this single 6-foot slab—legs and all. I thought about a waterfall-style table, but I ended up landing on the following design…it’s not totally original, but the mitred ends provided a nice effect, and would have the added benefit of giving the table stability.
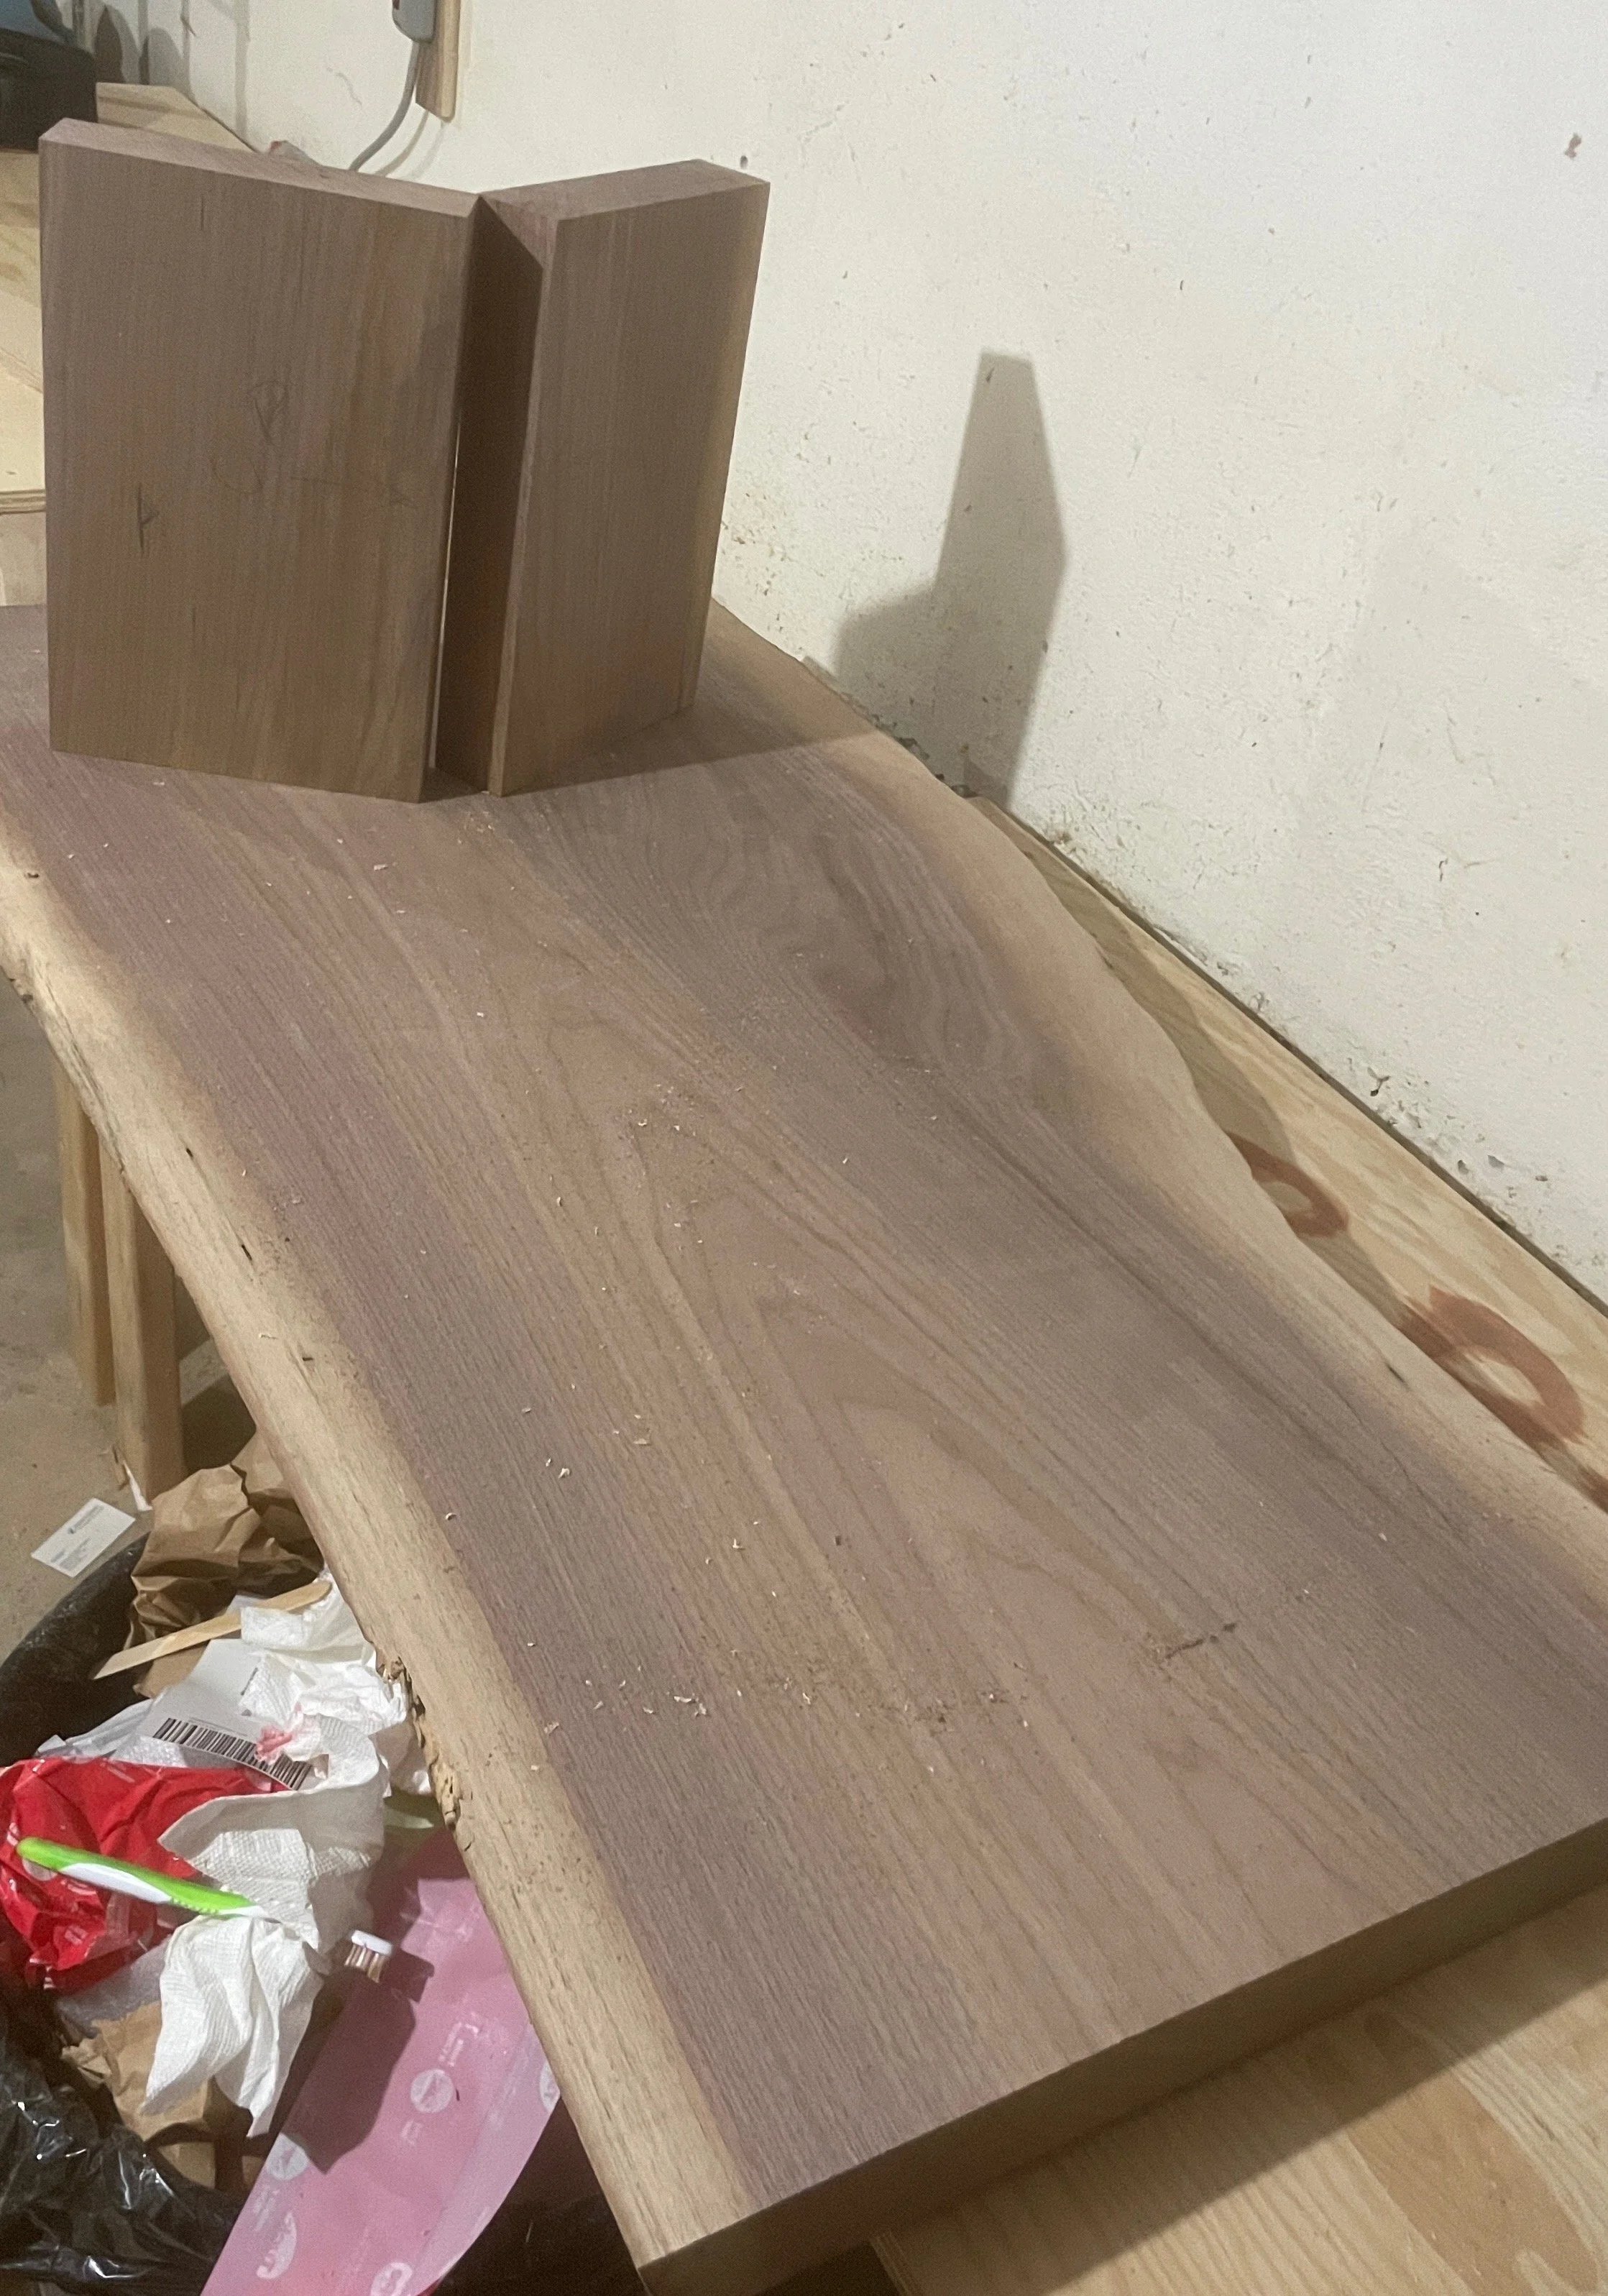
So I grabbed the saw and made my cuts. But after doing a dry-run of the table…there was something off with it. I couldn’t put my finger on it, but this often happens where you have a vision in your mind and maybe it even looks good in a digital mockup. But then in reality there’s just something that doesn’t sit right.
I think in the end it was just too blocky….if that’s a word. There was a ton of flat space, the legs were too thick, and the proportions didn’t feel right—the table itself was maybe a little high.
My feeling is kind of…meh. I think we can do better.
So I scrapped this idea and moved on, confident that I’d come up with a solution later.
Crack Stabilization
While epoxy seems to be the go-to crack filler these days. I was recently inspired by the work of George Nakashima, who in the 1960s popularized the live-edge table style, and opted to leave the cracks open, while stabilizing them with bow-tie inlays (a.k.a. butterfly joints) to prevent them from opening up further over time.
This was my first attempt at a hand-cut inlay, but I have to say, I found it incredibly satisfying. After hogging out the majority of the wood with a router, I then grabbed a chisel and hand-cut the rest of the material away. Overall, it took about 45 minutes to cut and install the inlay…which, personally, I appreciated. A lot of woodworking these days is quick and immediate. I liked slowing down and carefully nibbling away a millimeter at a time with my 1/2” chisel.
Tracing out the bow-tie with a knife.
Chiseling out the material.
That’s it for part one. Next up will be putting the ‘Orion’ in the Orion Coffee Table.


