The Orion Coffee Table - Part 3
If you haven’t already, check out part 1 and part 2 of this build series.
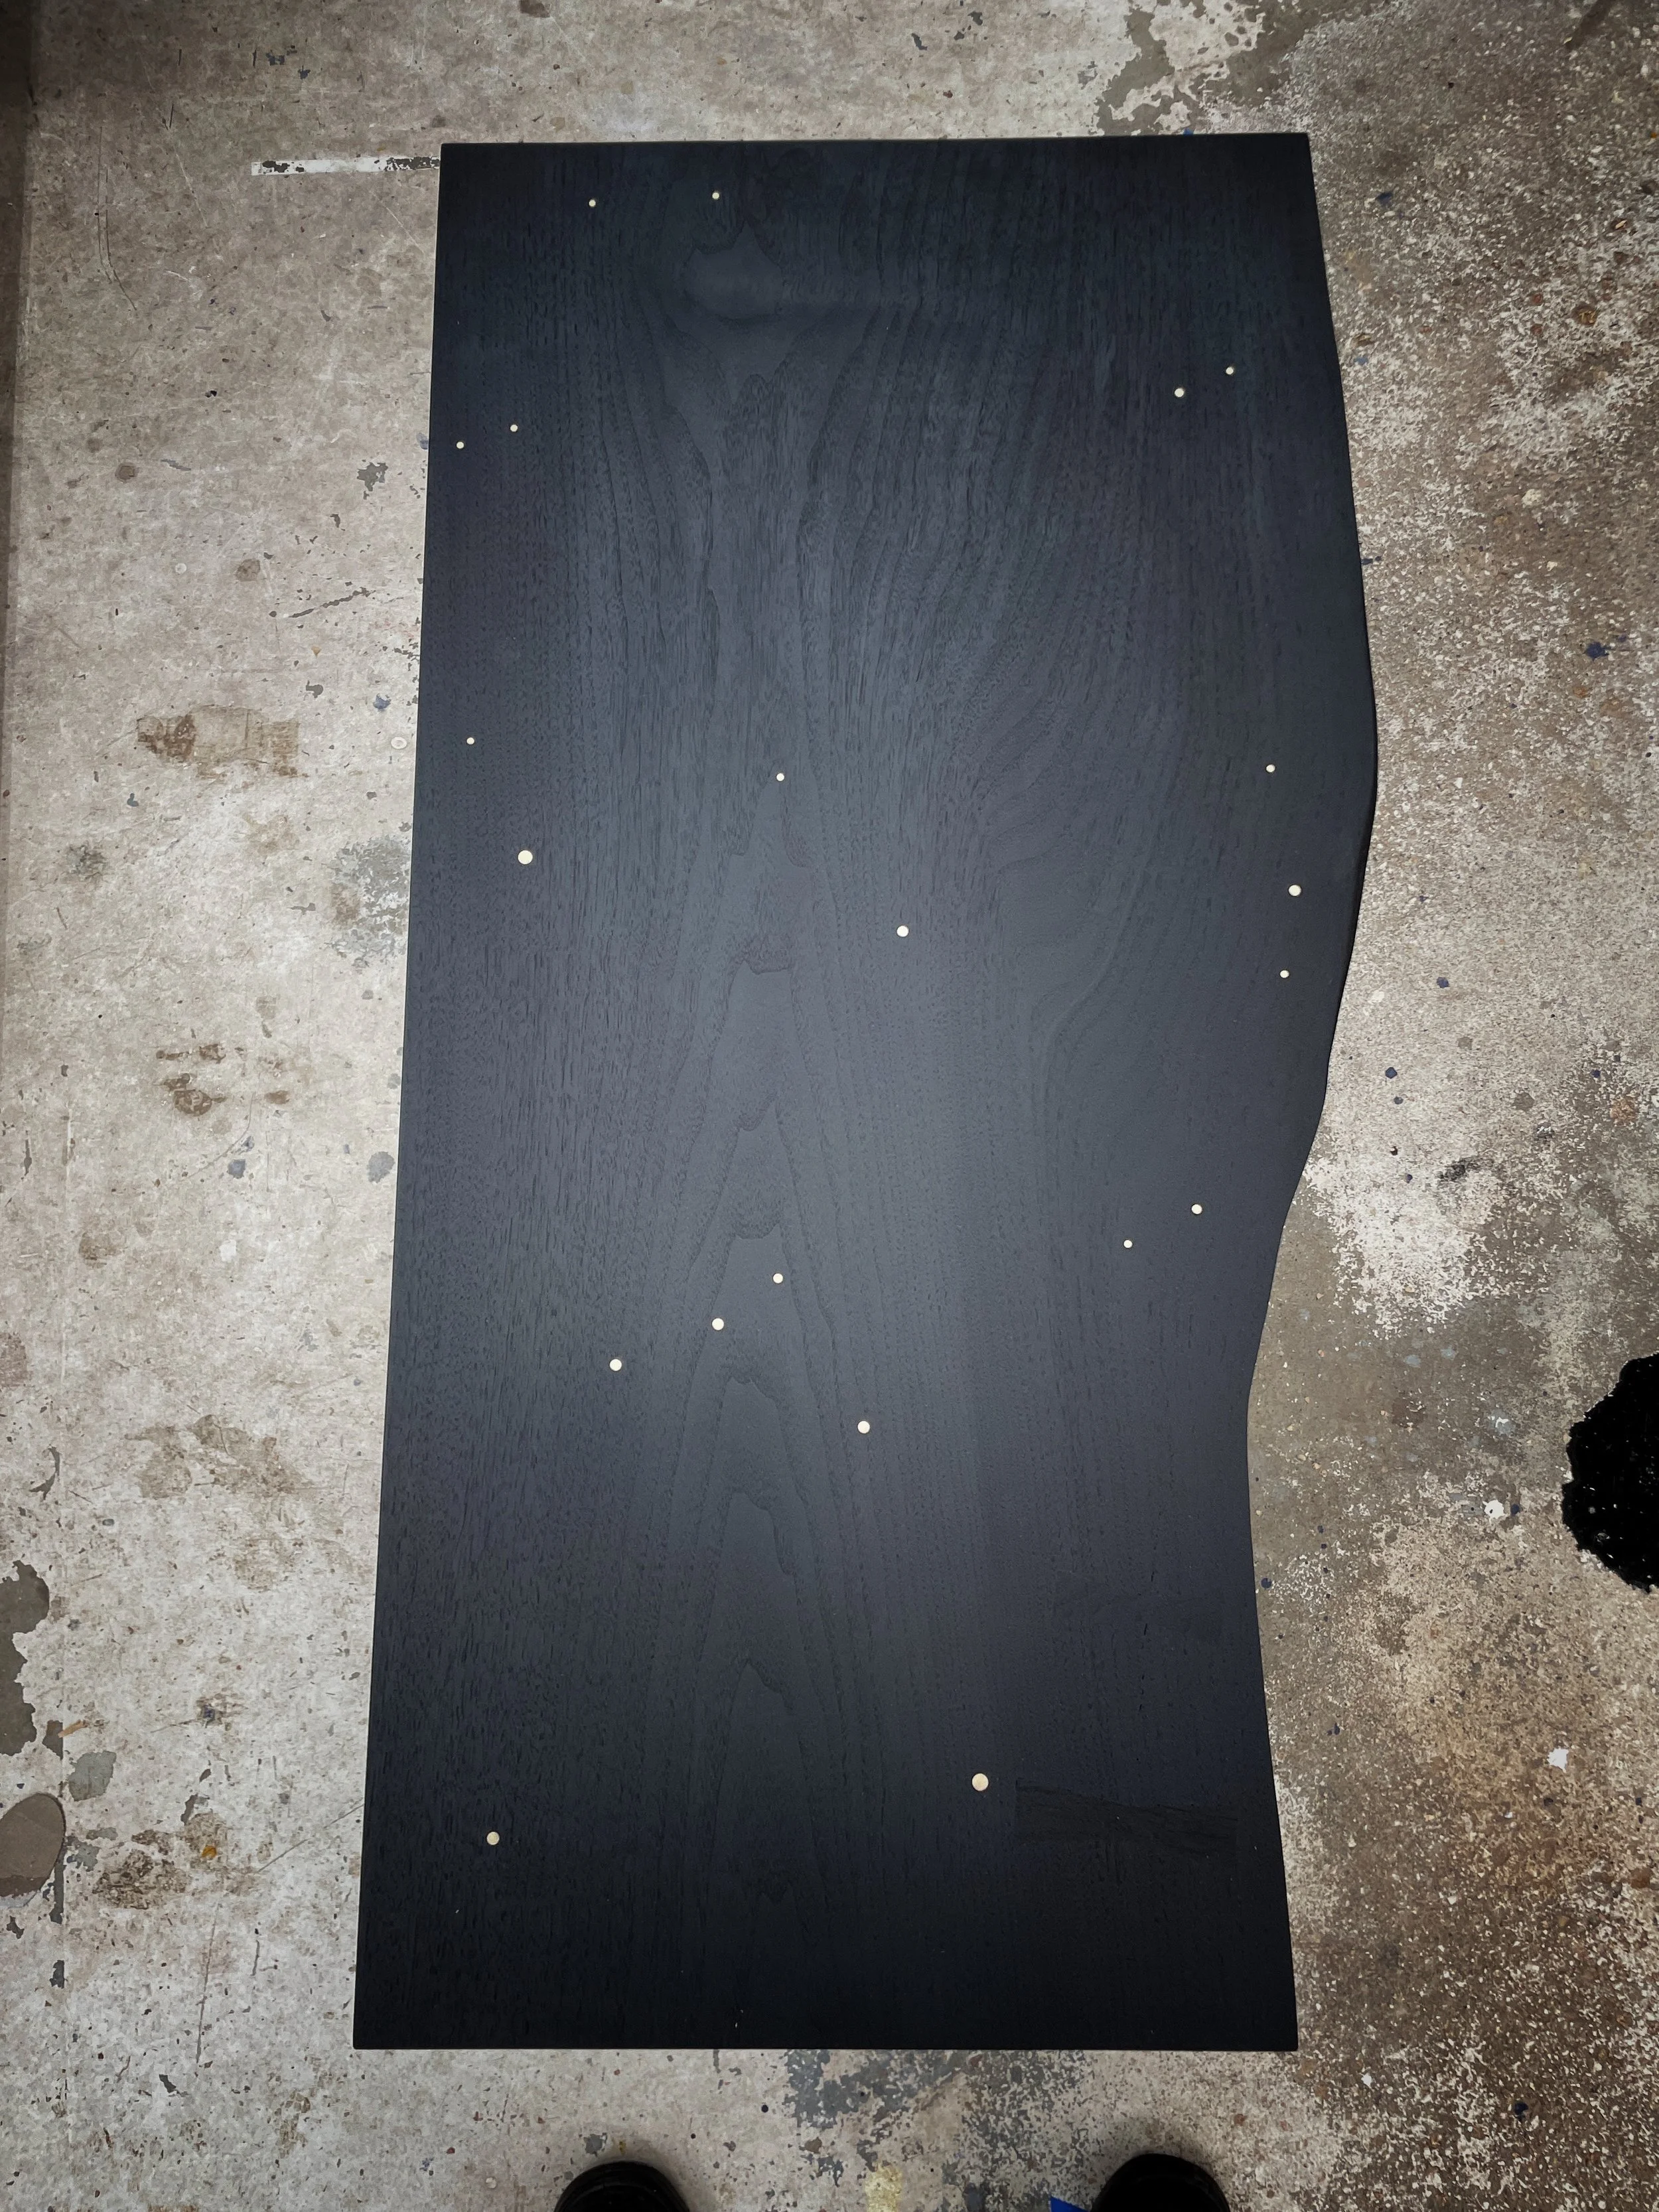
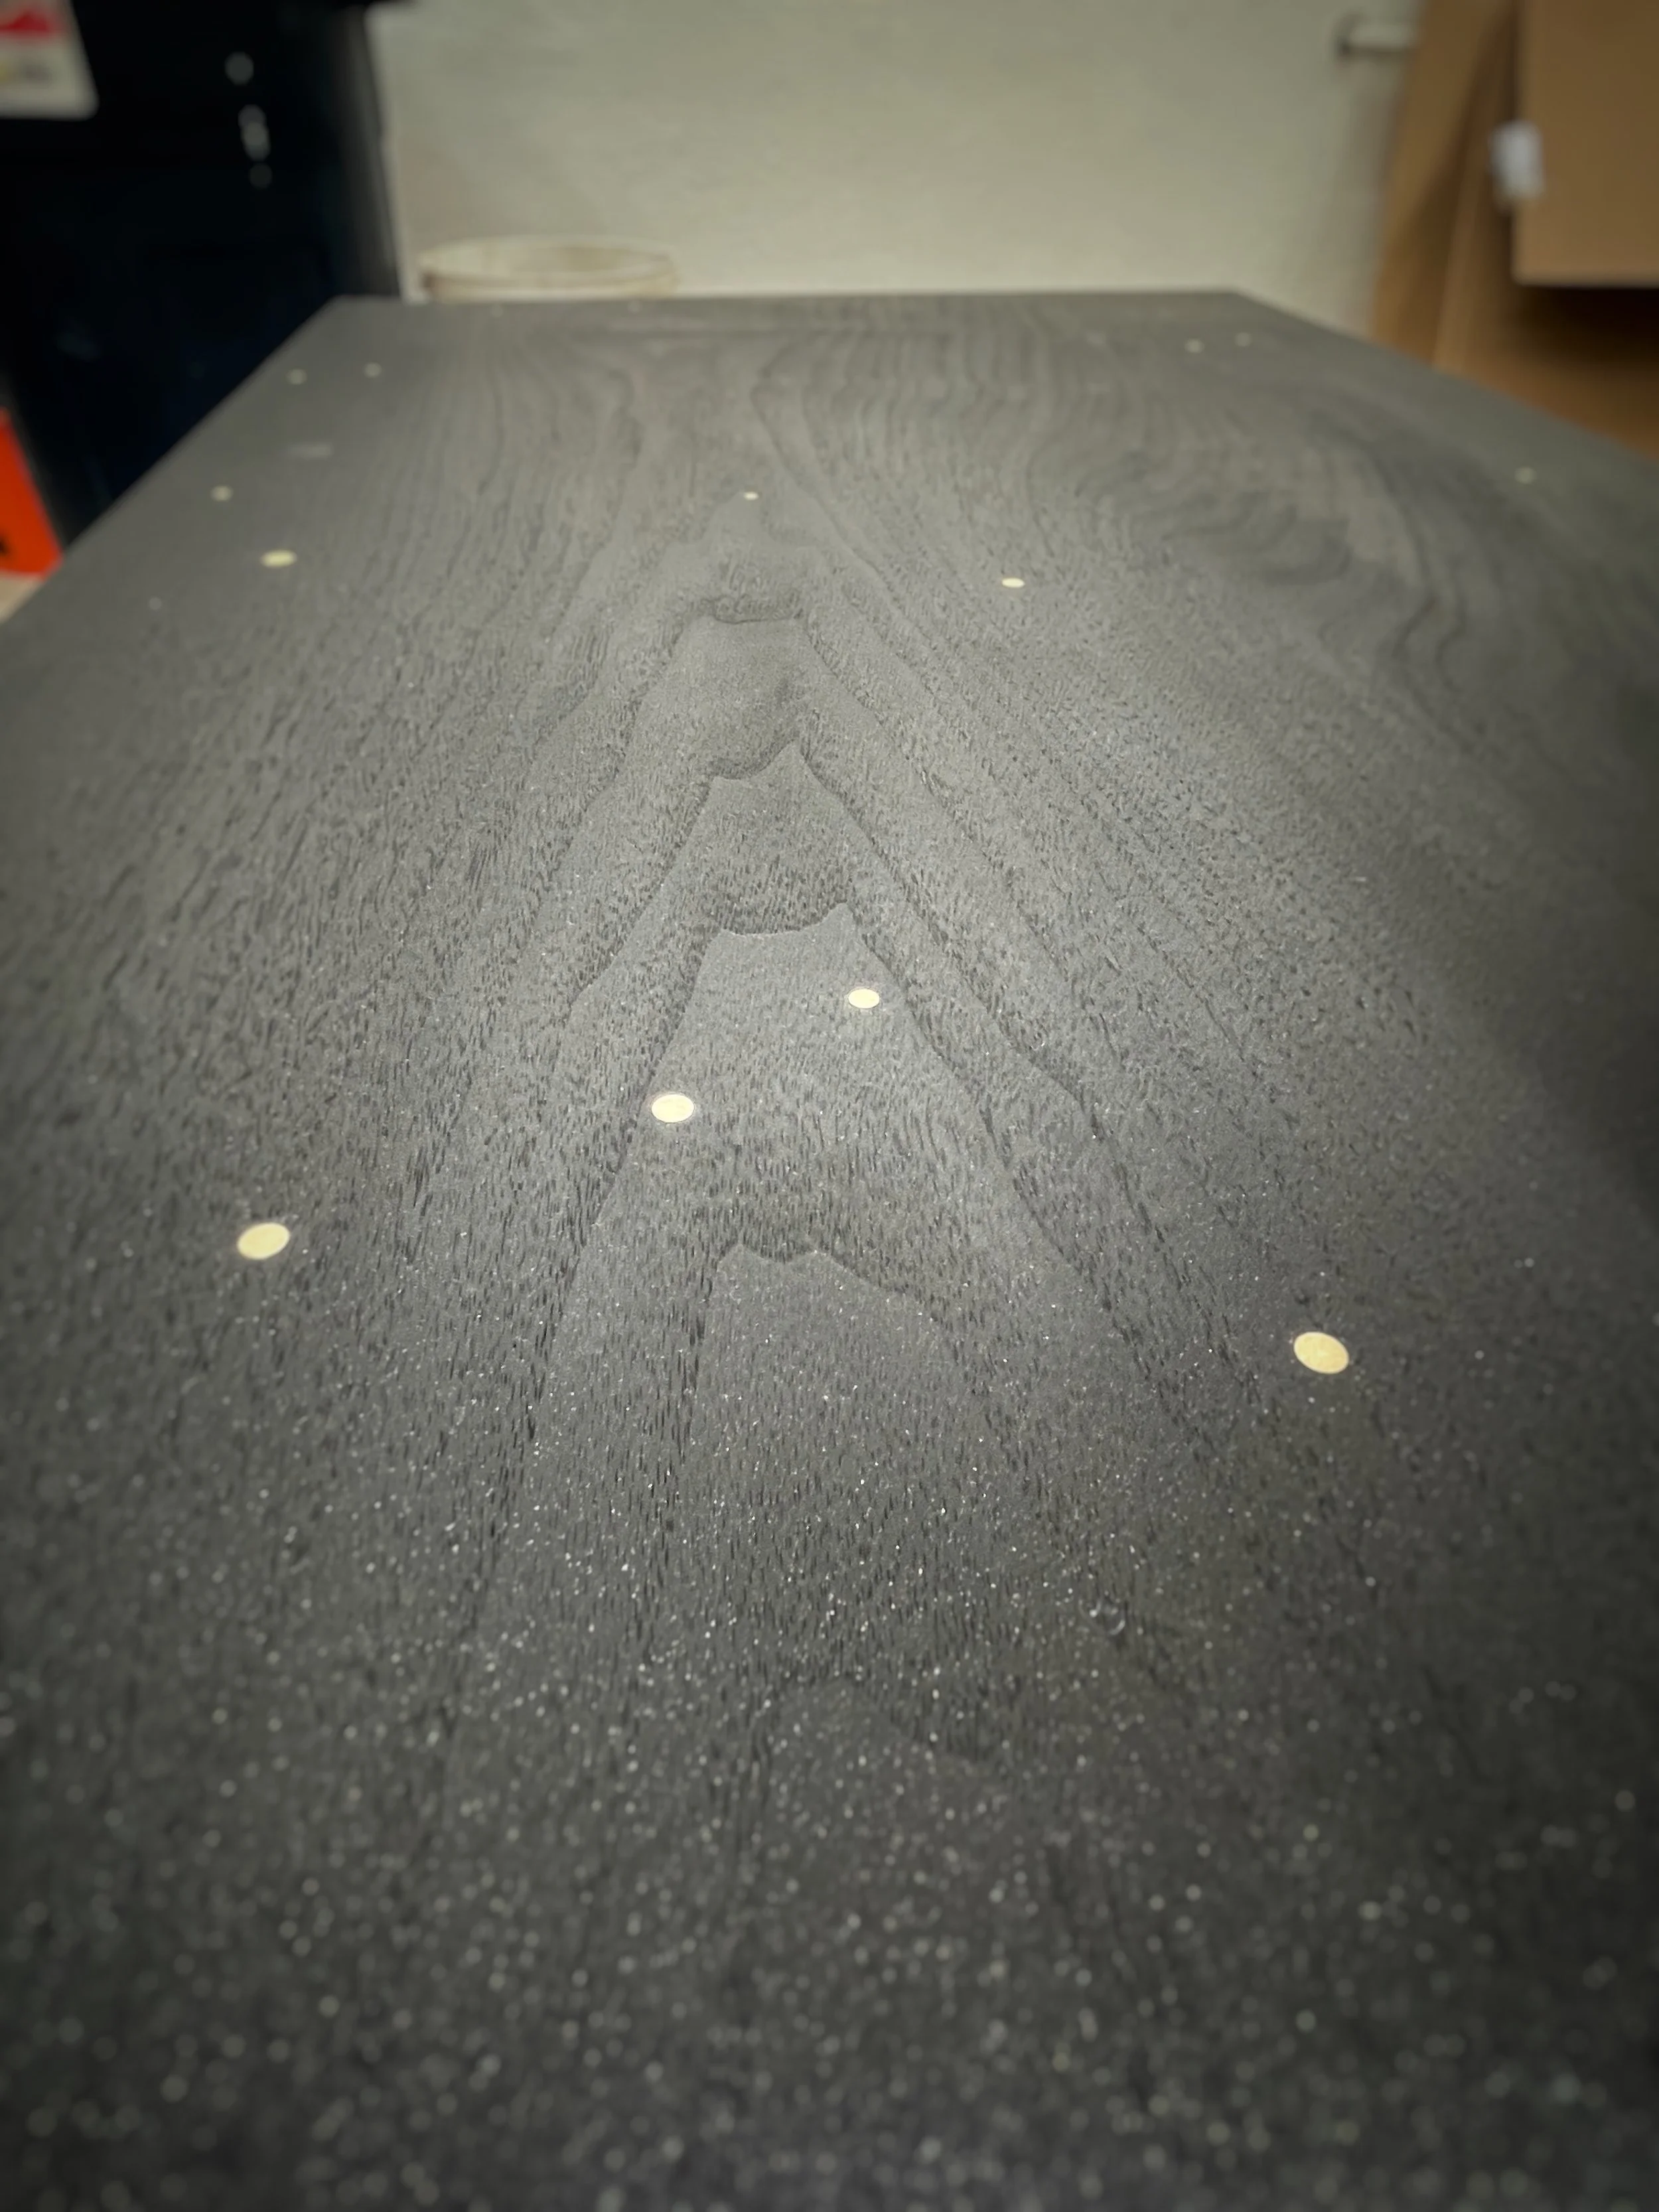
Last up with this coffee table was to give it the darkness. It was important that this truly came out black. Often times, stains don’t live up to their name and I was concerned any ‘black’ or ‘charcoal’ I selected would just darken the wood.
But I had seen Rubio Monocoat’s Intense Black Precolor used on a couple of other wood species and loved it, so I decided to give it a try.
Not bad eh?
Selecting legs for the table
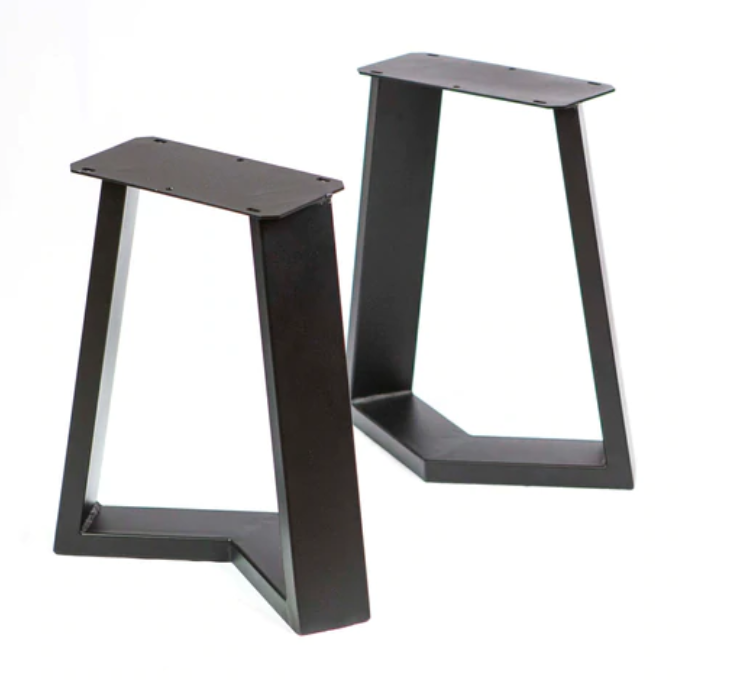
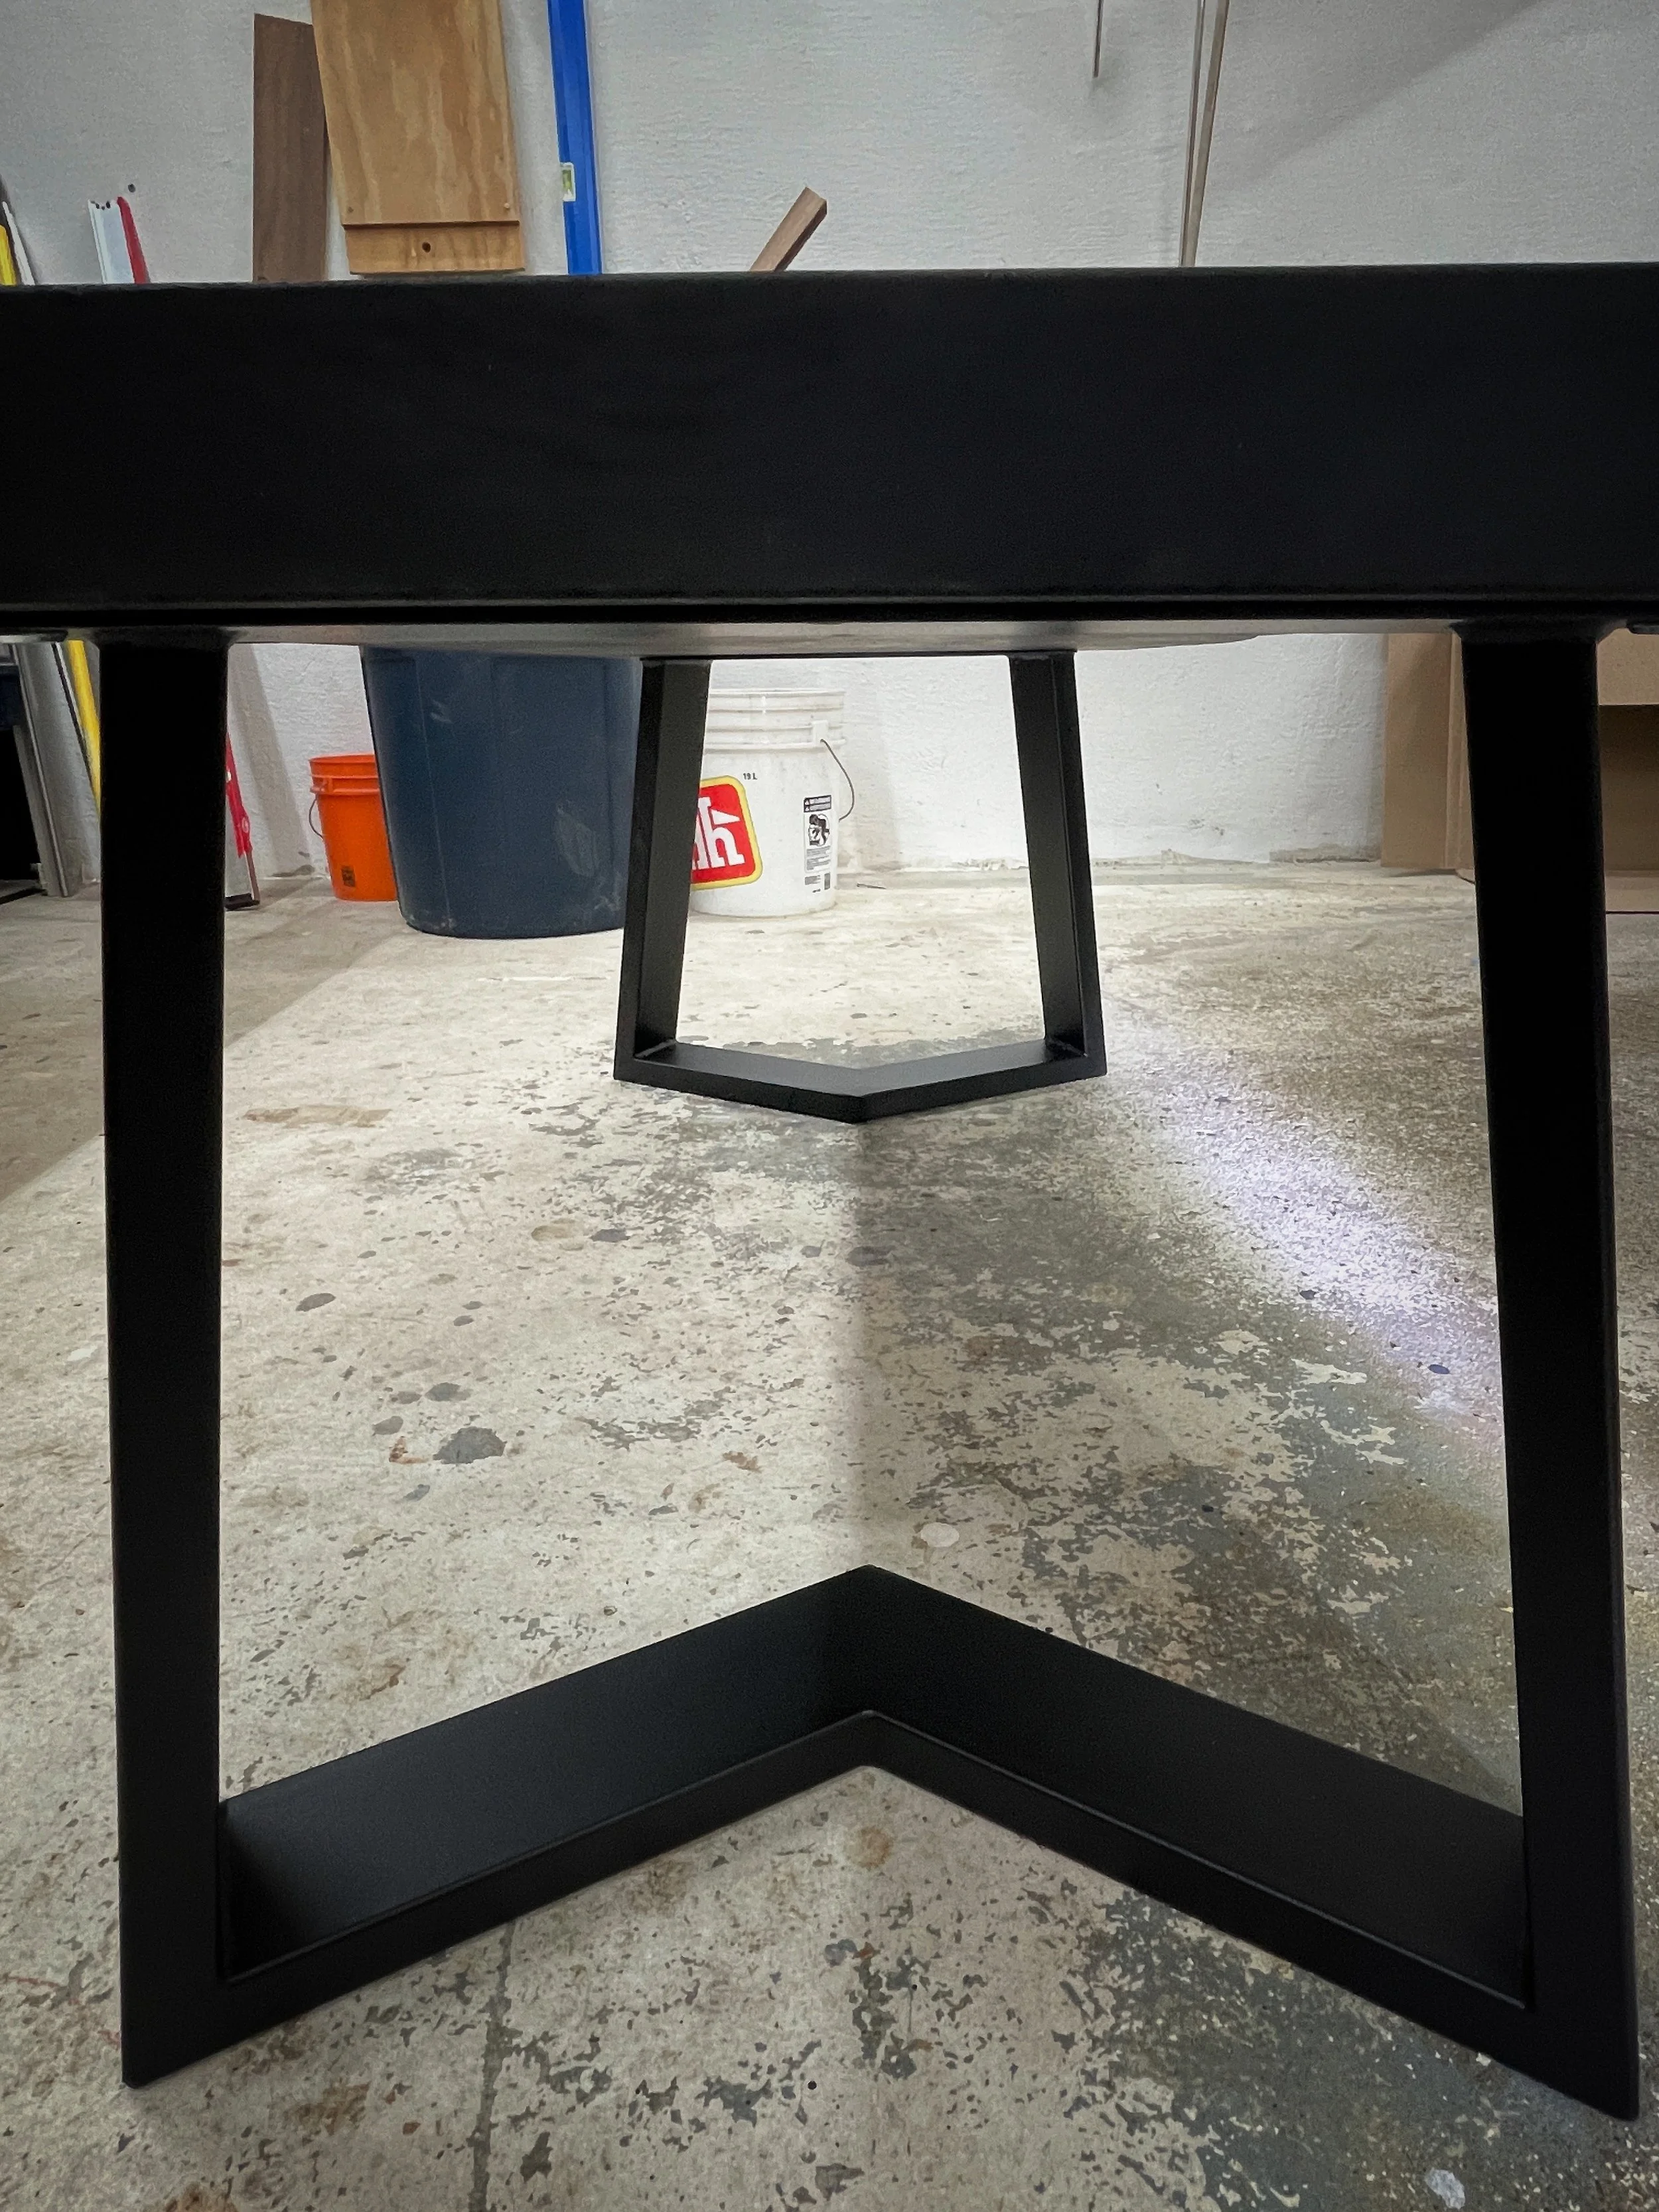
Next up was getting around to dealing with the leg situation. As I mentioned in the previous article in this series, I wasn’t in love with my original idea to make the legs out of the walnut slab.
In the end, I ended up finding a really nice pair of steel legs from RustyDesign that resembled the original look I was going for, but with a much more modern and robust look.
Finishing and assembly
Next up was getting some Rubio Monocoat on the top. I absolutely love this finish. Very easy to apply (wipe on, wipe off), works well even in dusty environment, excellent protection, easy to repair, and smells great.
And last up was attaching the legs with threaded inserts from Concept 13. This is a much more robust way of attaching legs compared to screws, which just won’t hold up well over time. They also make the legs easy to remove and reattach with no concern for loosening the connection.
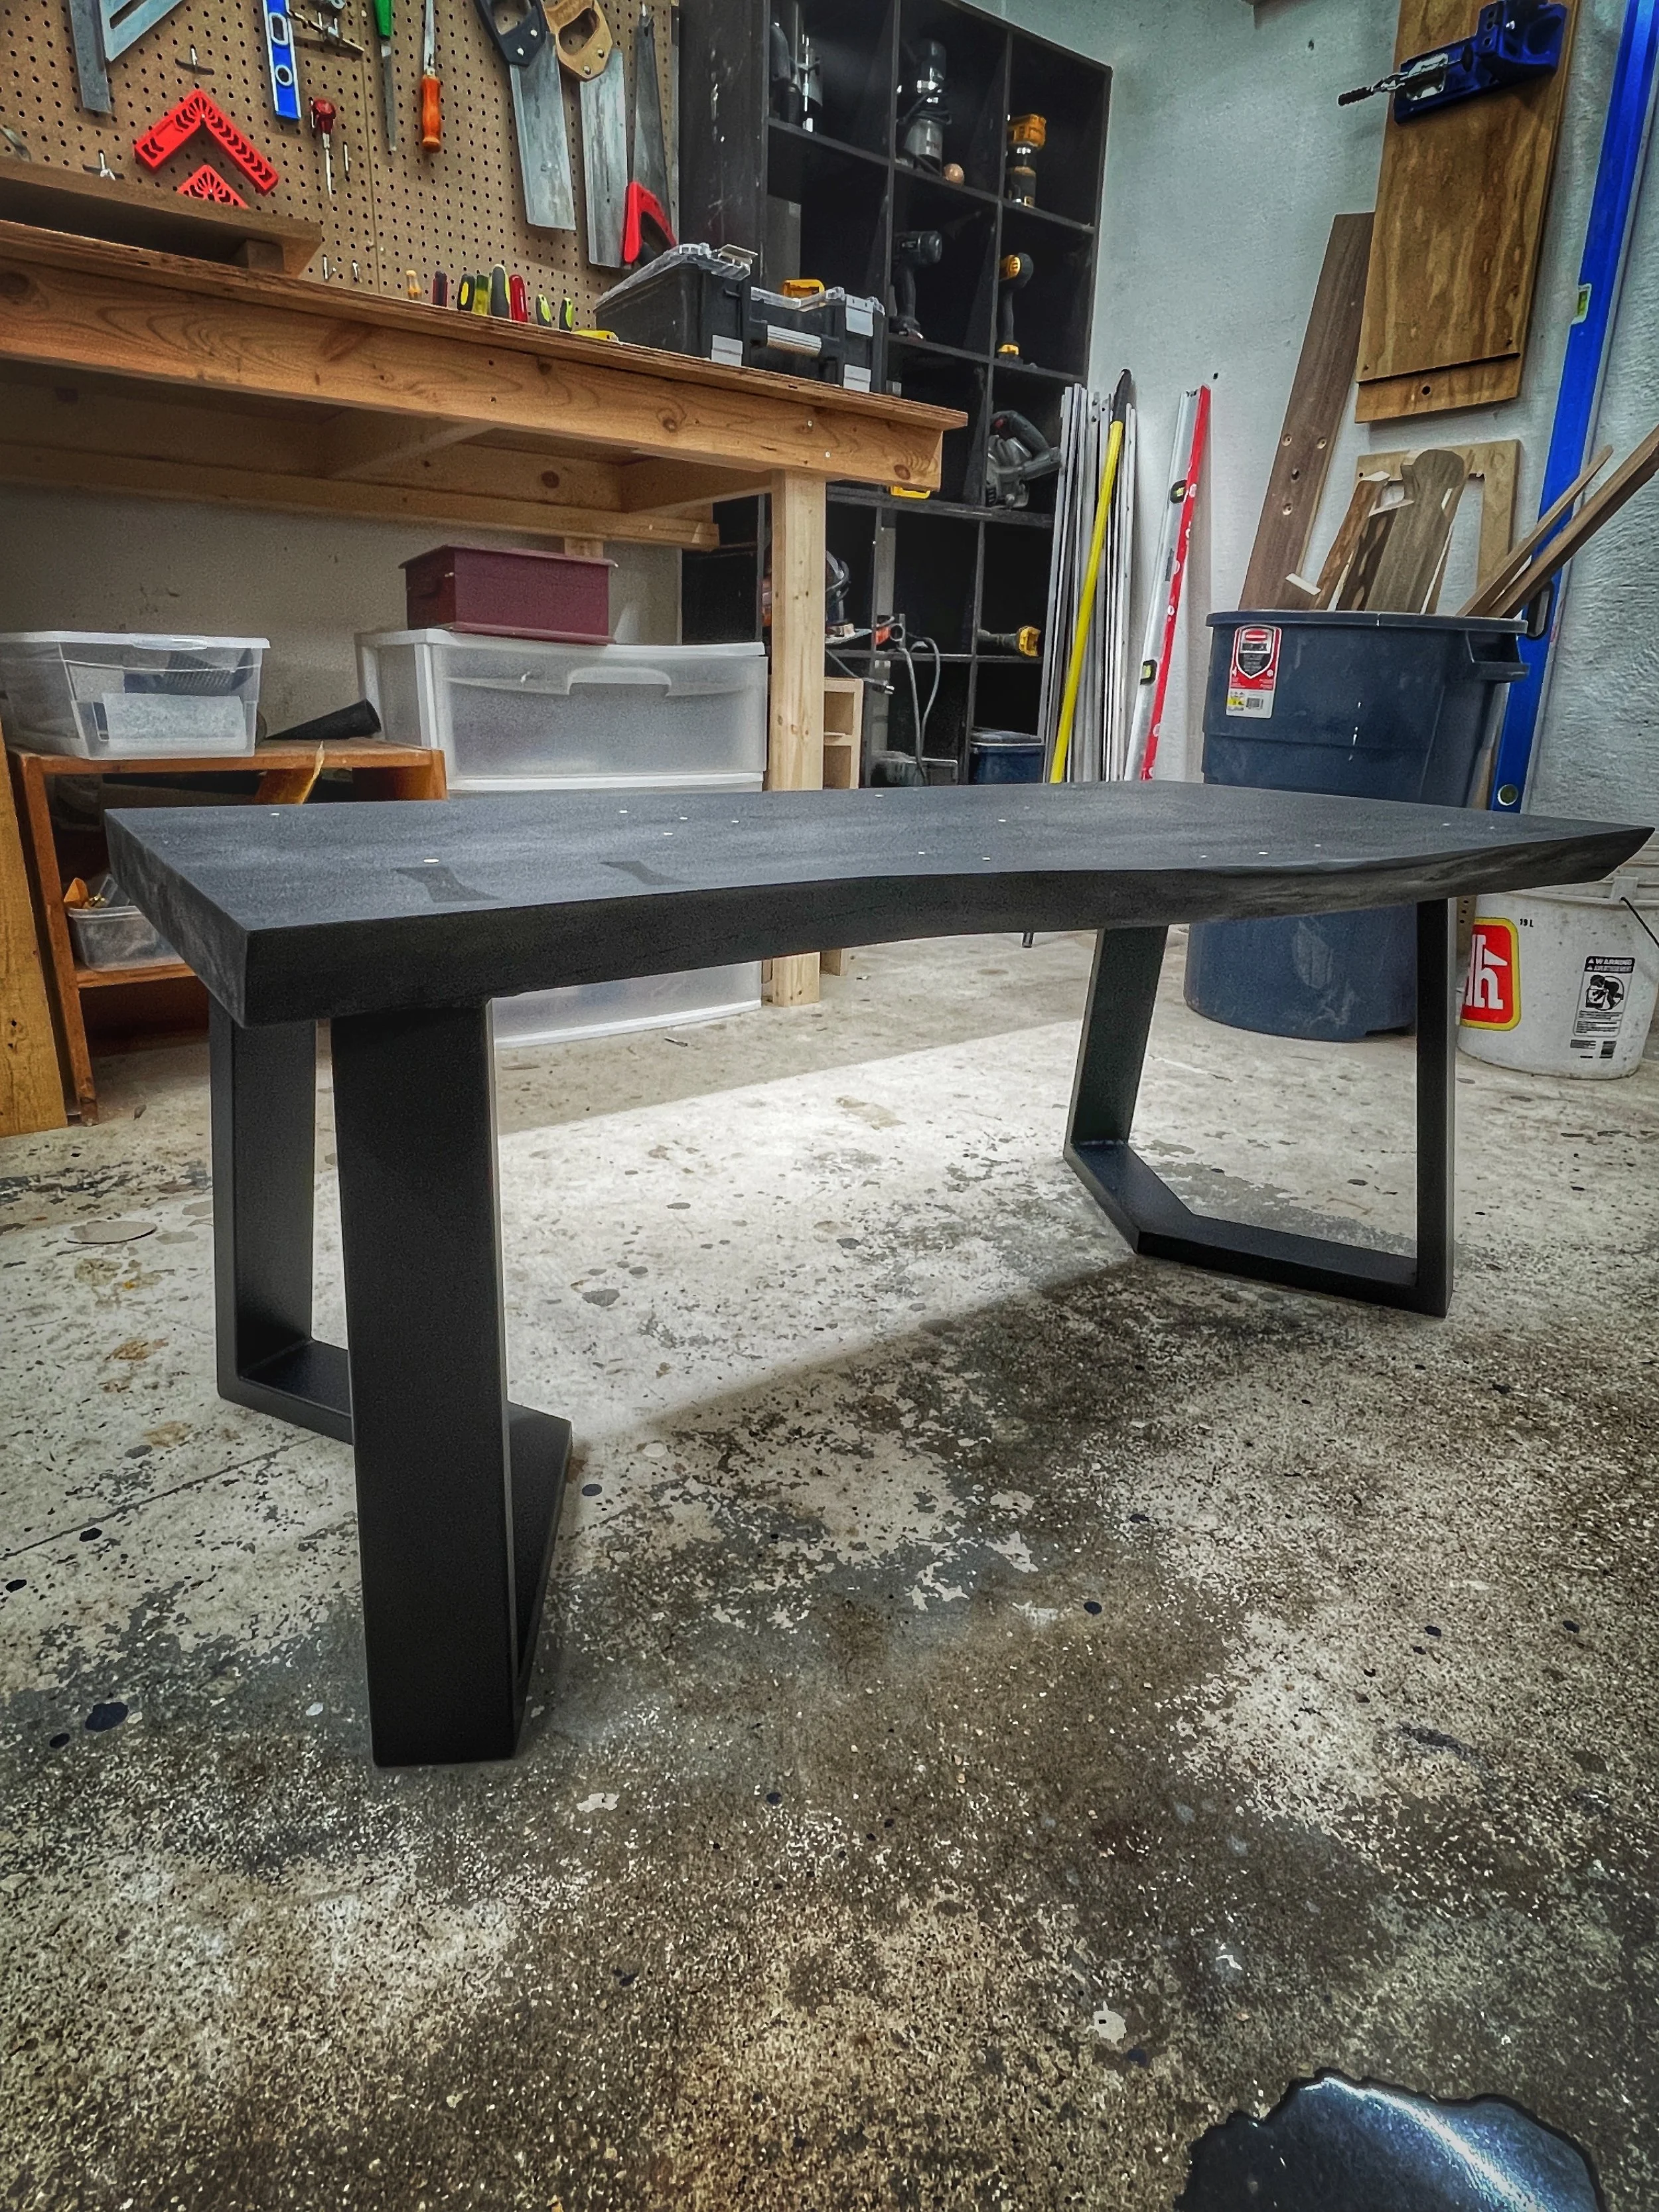
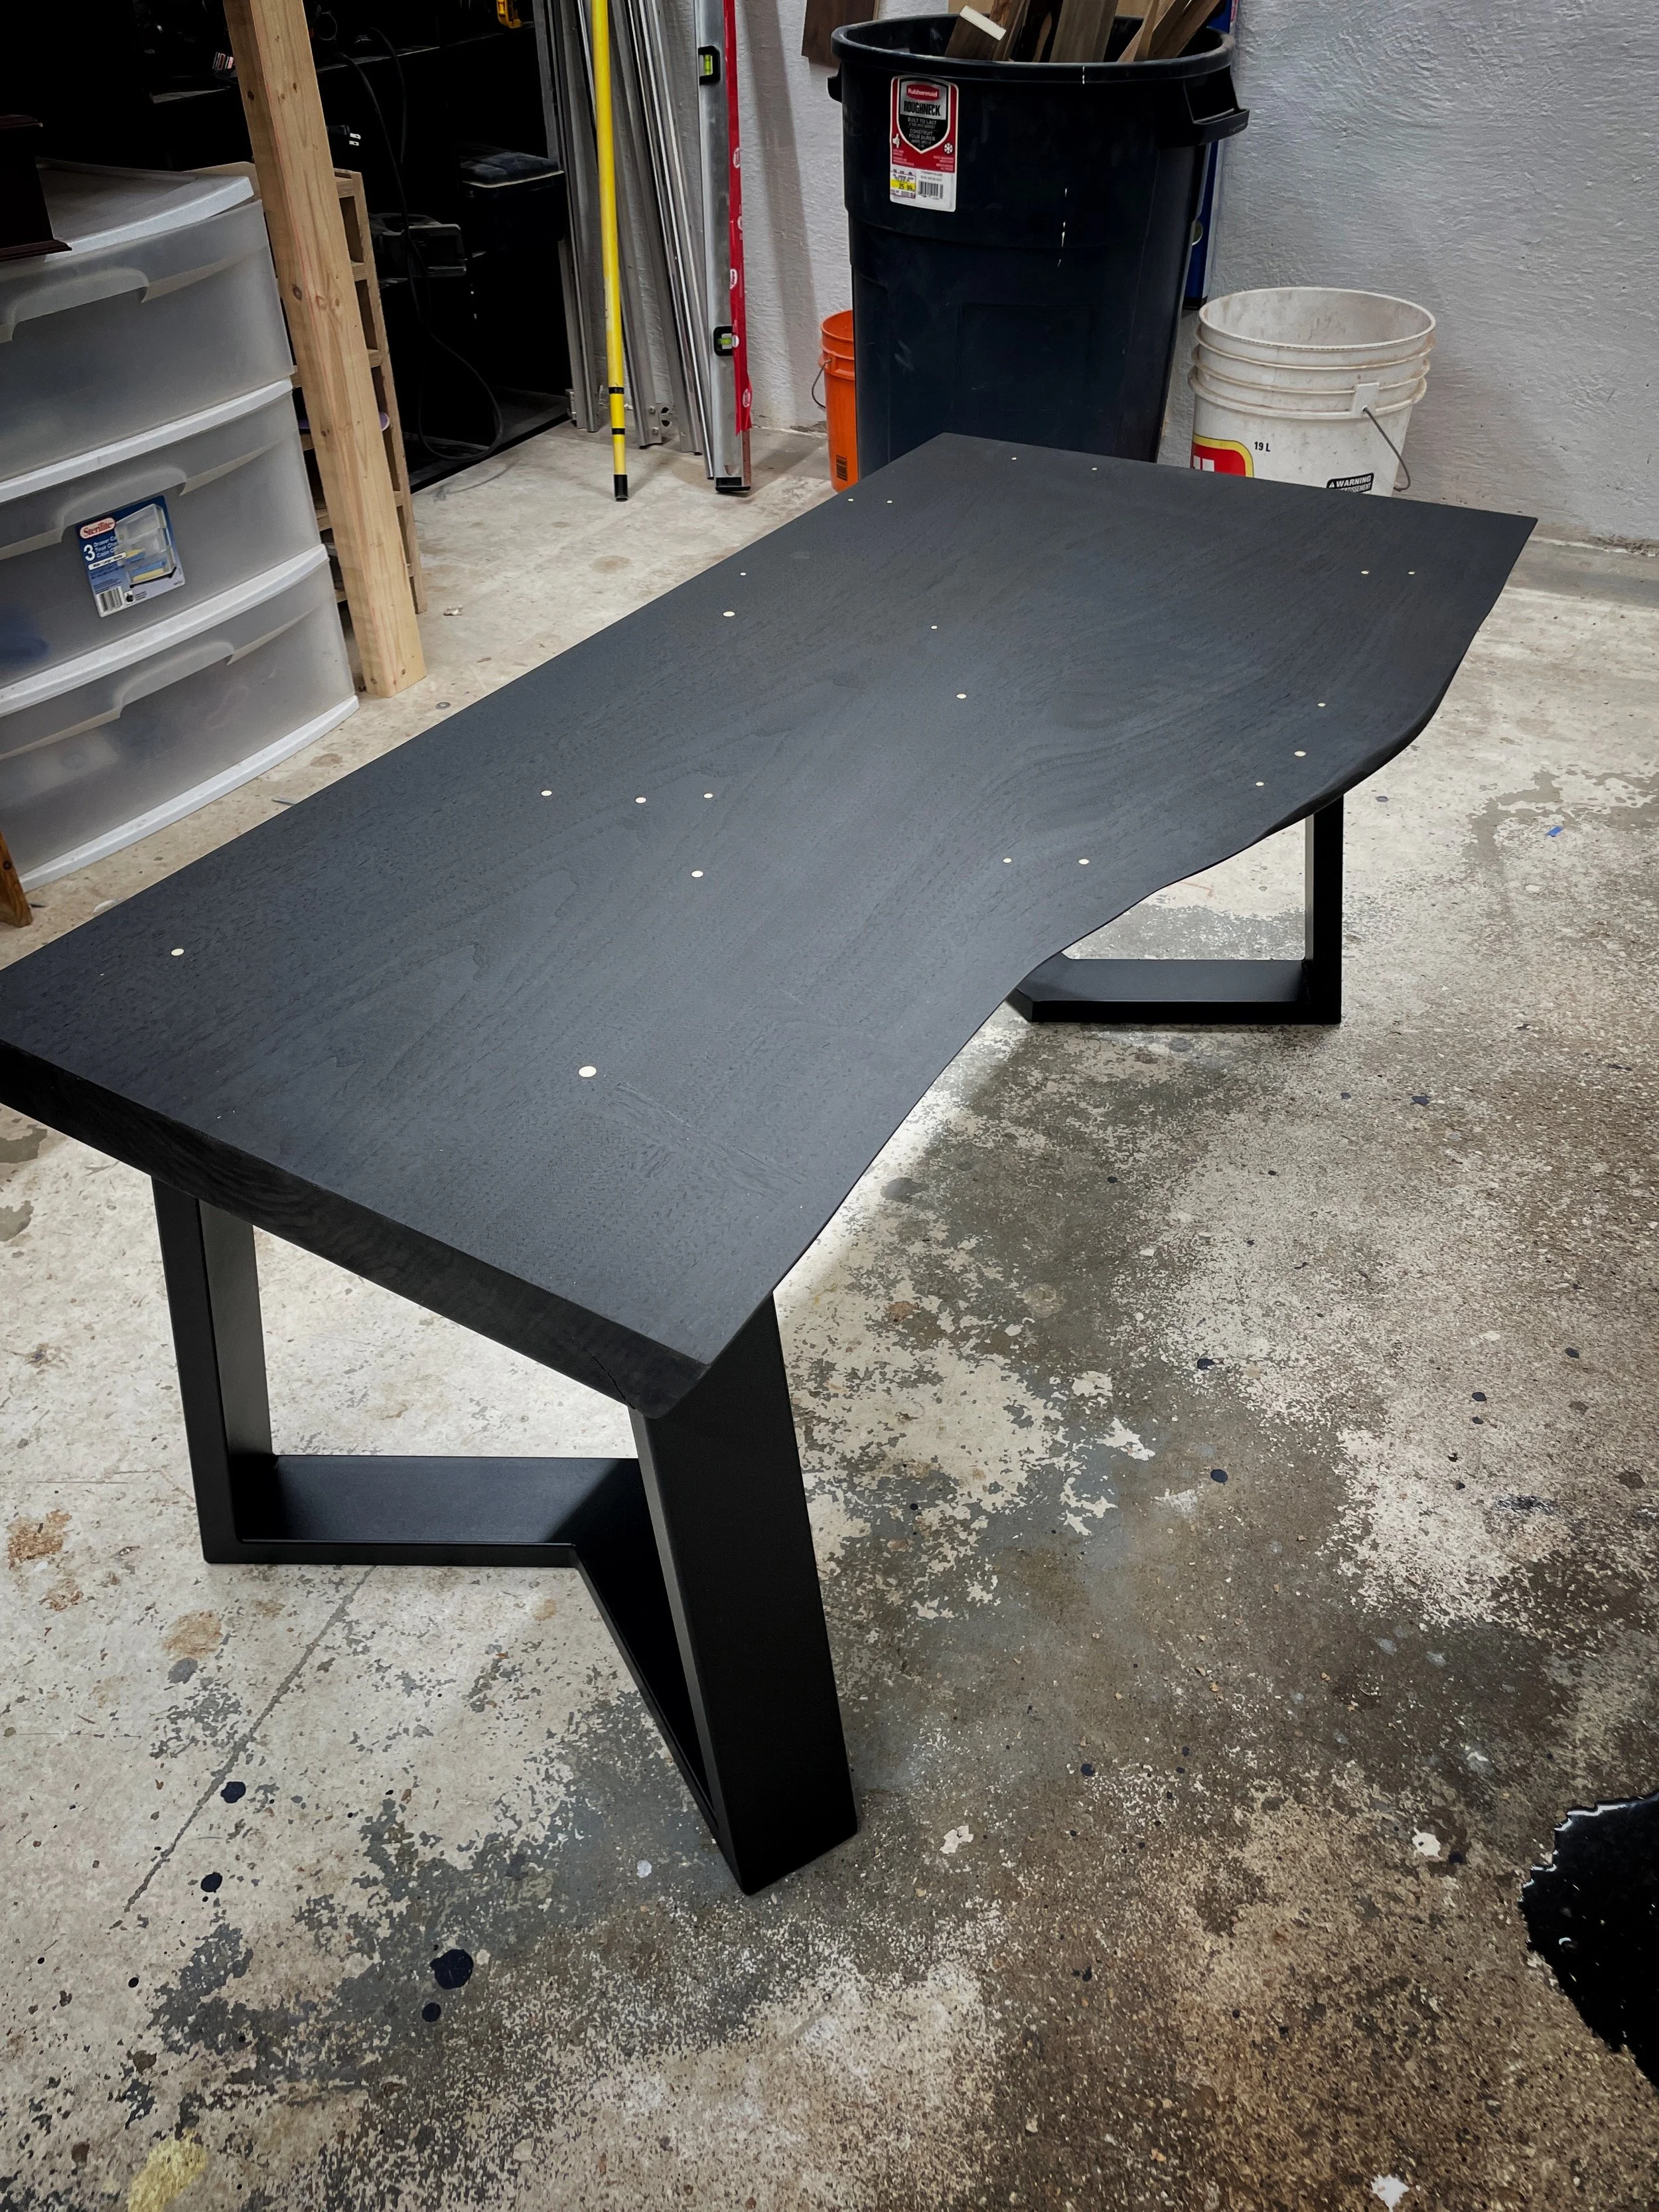
And that’s a wrap! Below are a few finish shots, I snapped in my shop, but I’m planning on getting a more professional shoot done in a few weeks.
